WhereQ-DOSBox user guide: put a DOS game on your phone in five minutes


The guide I wanted and could not find
Here is a thing I noticed while I was testing the app on my own phone. Every DOSBox guide I have ever read was written by somebody who already knew what a .zip bundle was. They start at the interesting part — the sound chips, the save-state format, the JIT — and assume you have been running DOS since 1994.
That assumption is wrong for most people holding a phone. The hardest part of putting an old game on a modern phone is not the emulator. It is the first five minutes: getting the game onto the phone at all, in a shape the app can start.
So I wrote the guide I wanted instead. Seven steps, one screenshot of every screen, and no assumption that you have ever seen a command prompt.
The five-minute version
- Install the app. The APK is on the releases page.
- Open it. You land on the Files panel, and it is empty.
- Press + Install a bundle (.zip) and pick a
.zipgame file. - Press Play. The game starts.
- Press File (top left) whenever you want to come back to the list.
That is the whole thing. Everything below is the detail behind those five steps — read it if you want to understand what you are doing, skip it if you just want to play.
Before you start
| Phone | Android 5.0 or newer, any phone or tablet |
| Space | about 60 MB for the app, plus the size of the game |
| Network | none needed once the app and the game are on the phone |
| Account | none |
You also need a game, as a single .zip file. A game for this app is not the same thing as a ZIP of your own files — see Where do I get a game? below.
Step 1 — Install the app
The app is not in the source repository. It is built by the release pipeline and published on the releases page as whereq-dosbox-<version>.apk, with a .sha256 file next to it carrying the checksum.
Copy the .apk to your phone — cable, cloud drive, a file-sharing app, whatever is at hand — then tap it on the phone. Android asks whether to allow installing from that app; allow it, and the install goes through.
The app appears on your home screen as the >_ mark:
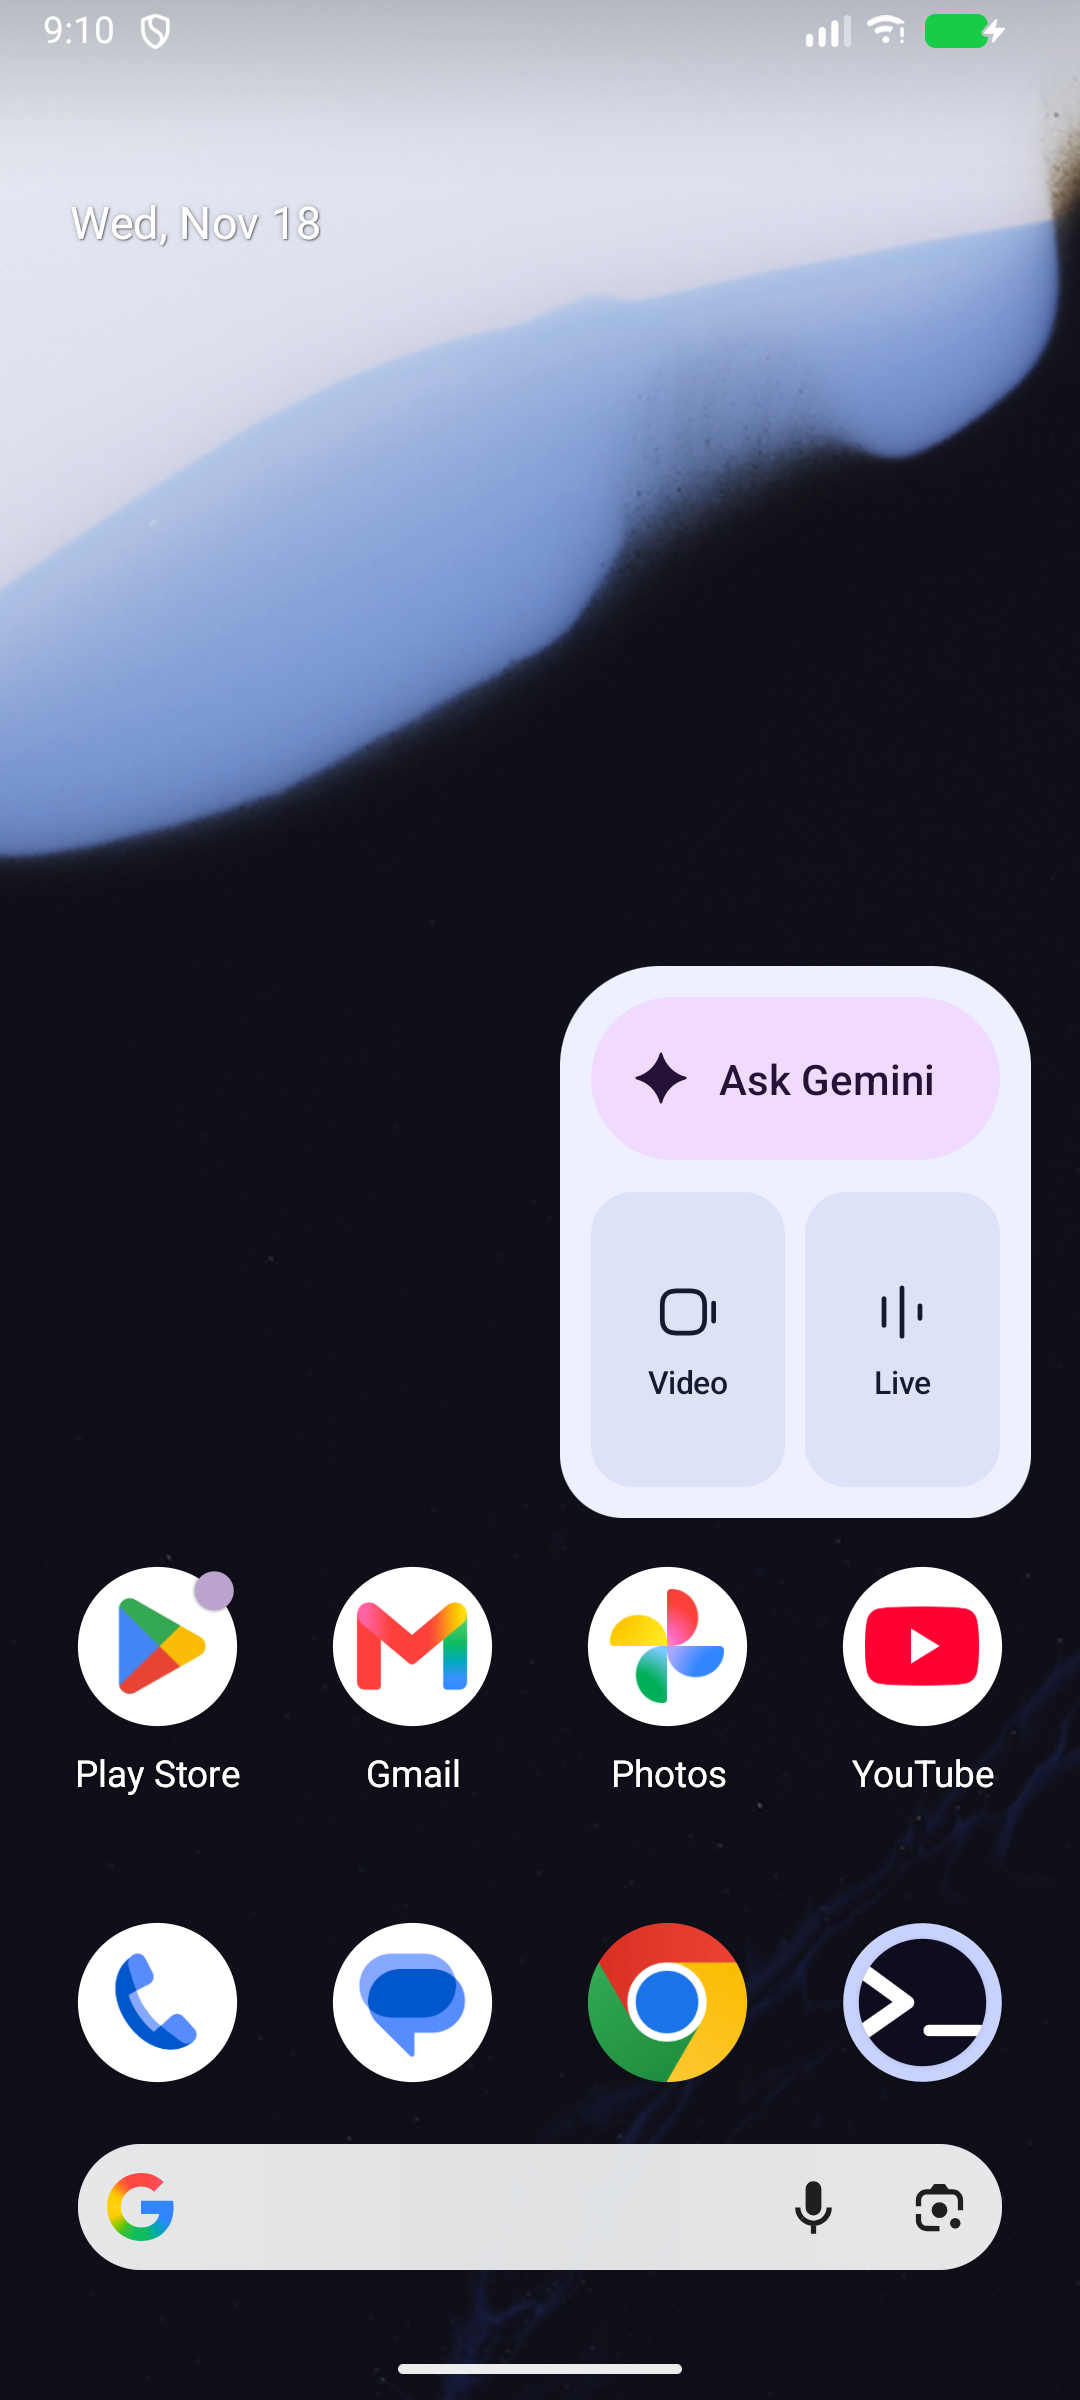
The WhereQ-DOSBox icon on the home screen.
The name in the app list, the notification, and the screen Android shows for the app all read WhereQ-DOSBox:
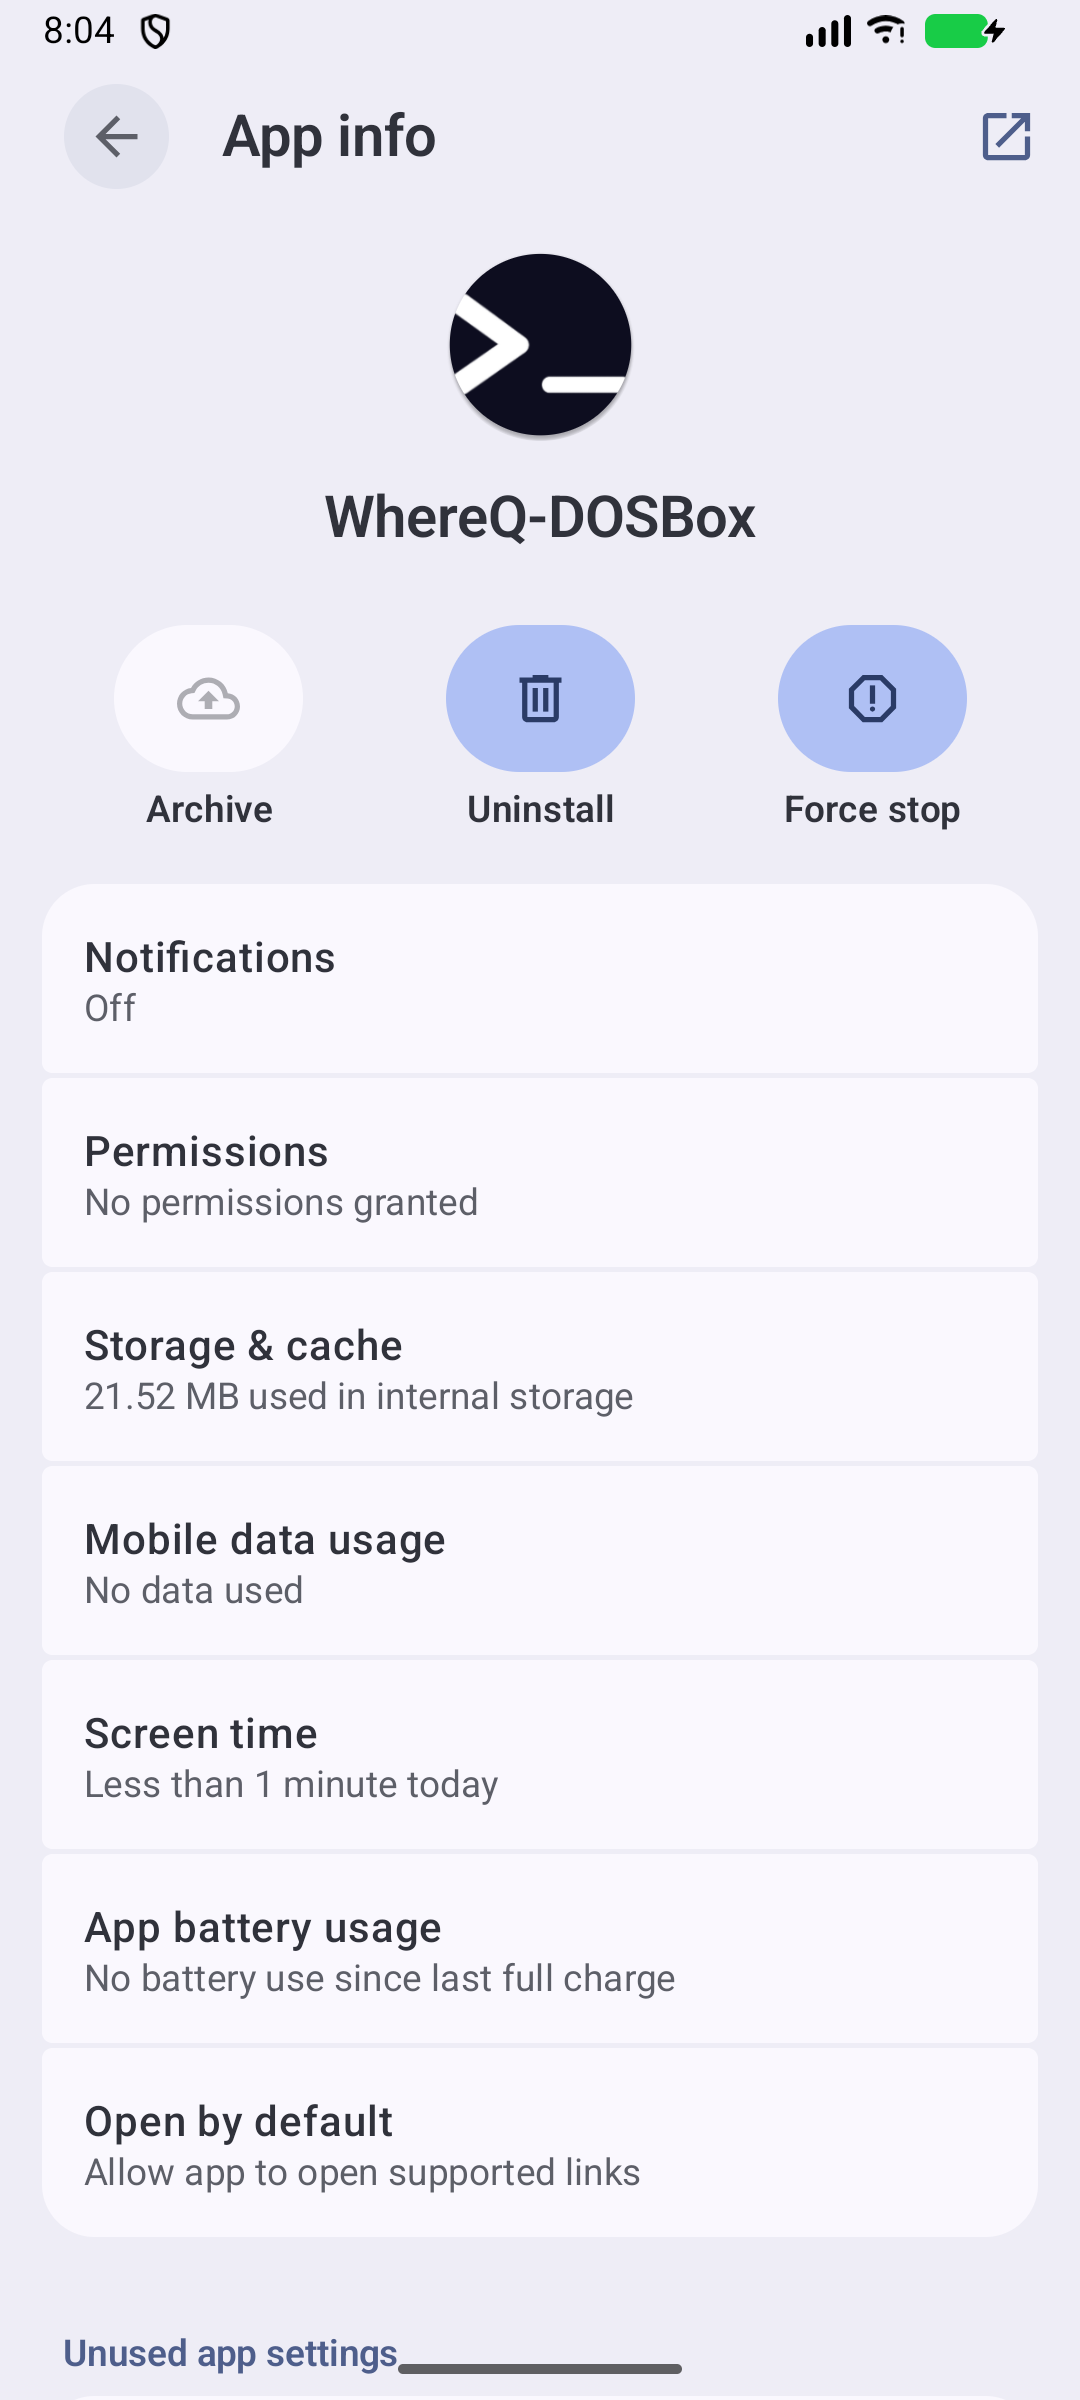
The Android App info page for WhereQ-DOSBox.
Step 2 — Install a game
Open the app. You land in the Files panel — the screen that lists what you have installed:
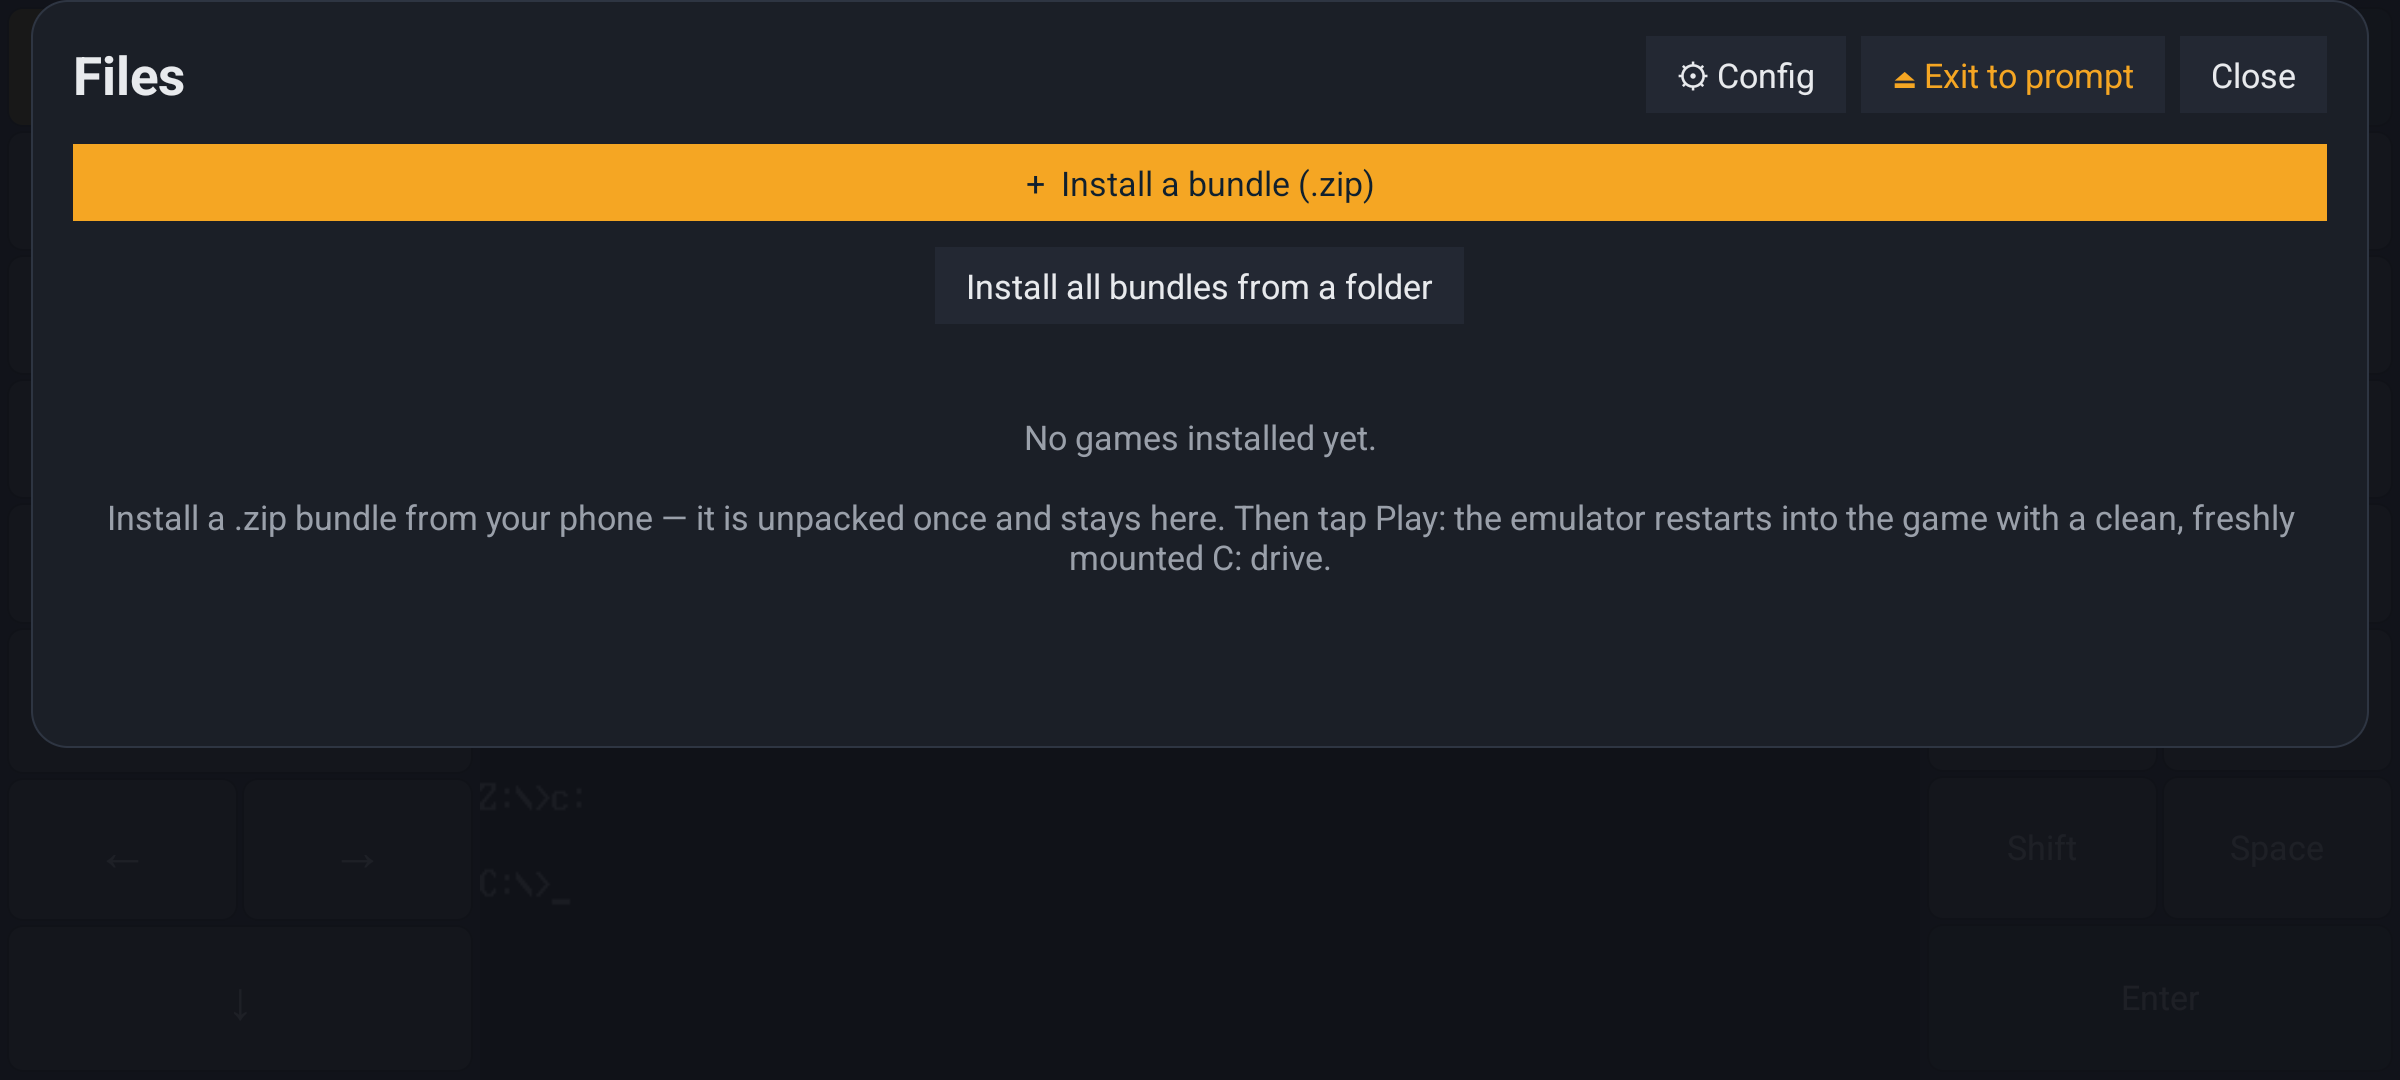
The Files panel on a fresh install, with no games yet.
Two ways to get a game in, both at the top of the panel:
| button | what it does |
|---|---|
| + Install a bundle (.zip) | pick one .zip from your phone |
| Install all bundles from a folder | unpack every .zip in one folder at once |
Press + Install a bundle (.zip), and the system's file picker opens. Pick your game's .zip — usually in Downloads — and the app unpacks it and registers it. The panel then lists it:
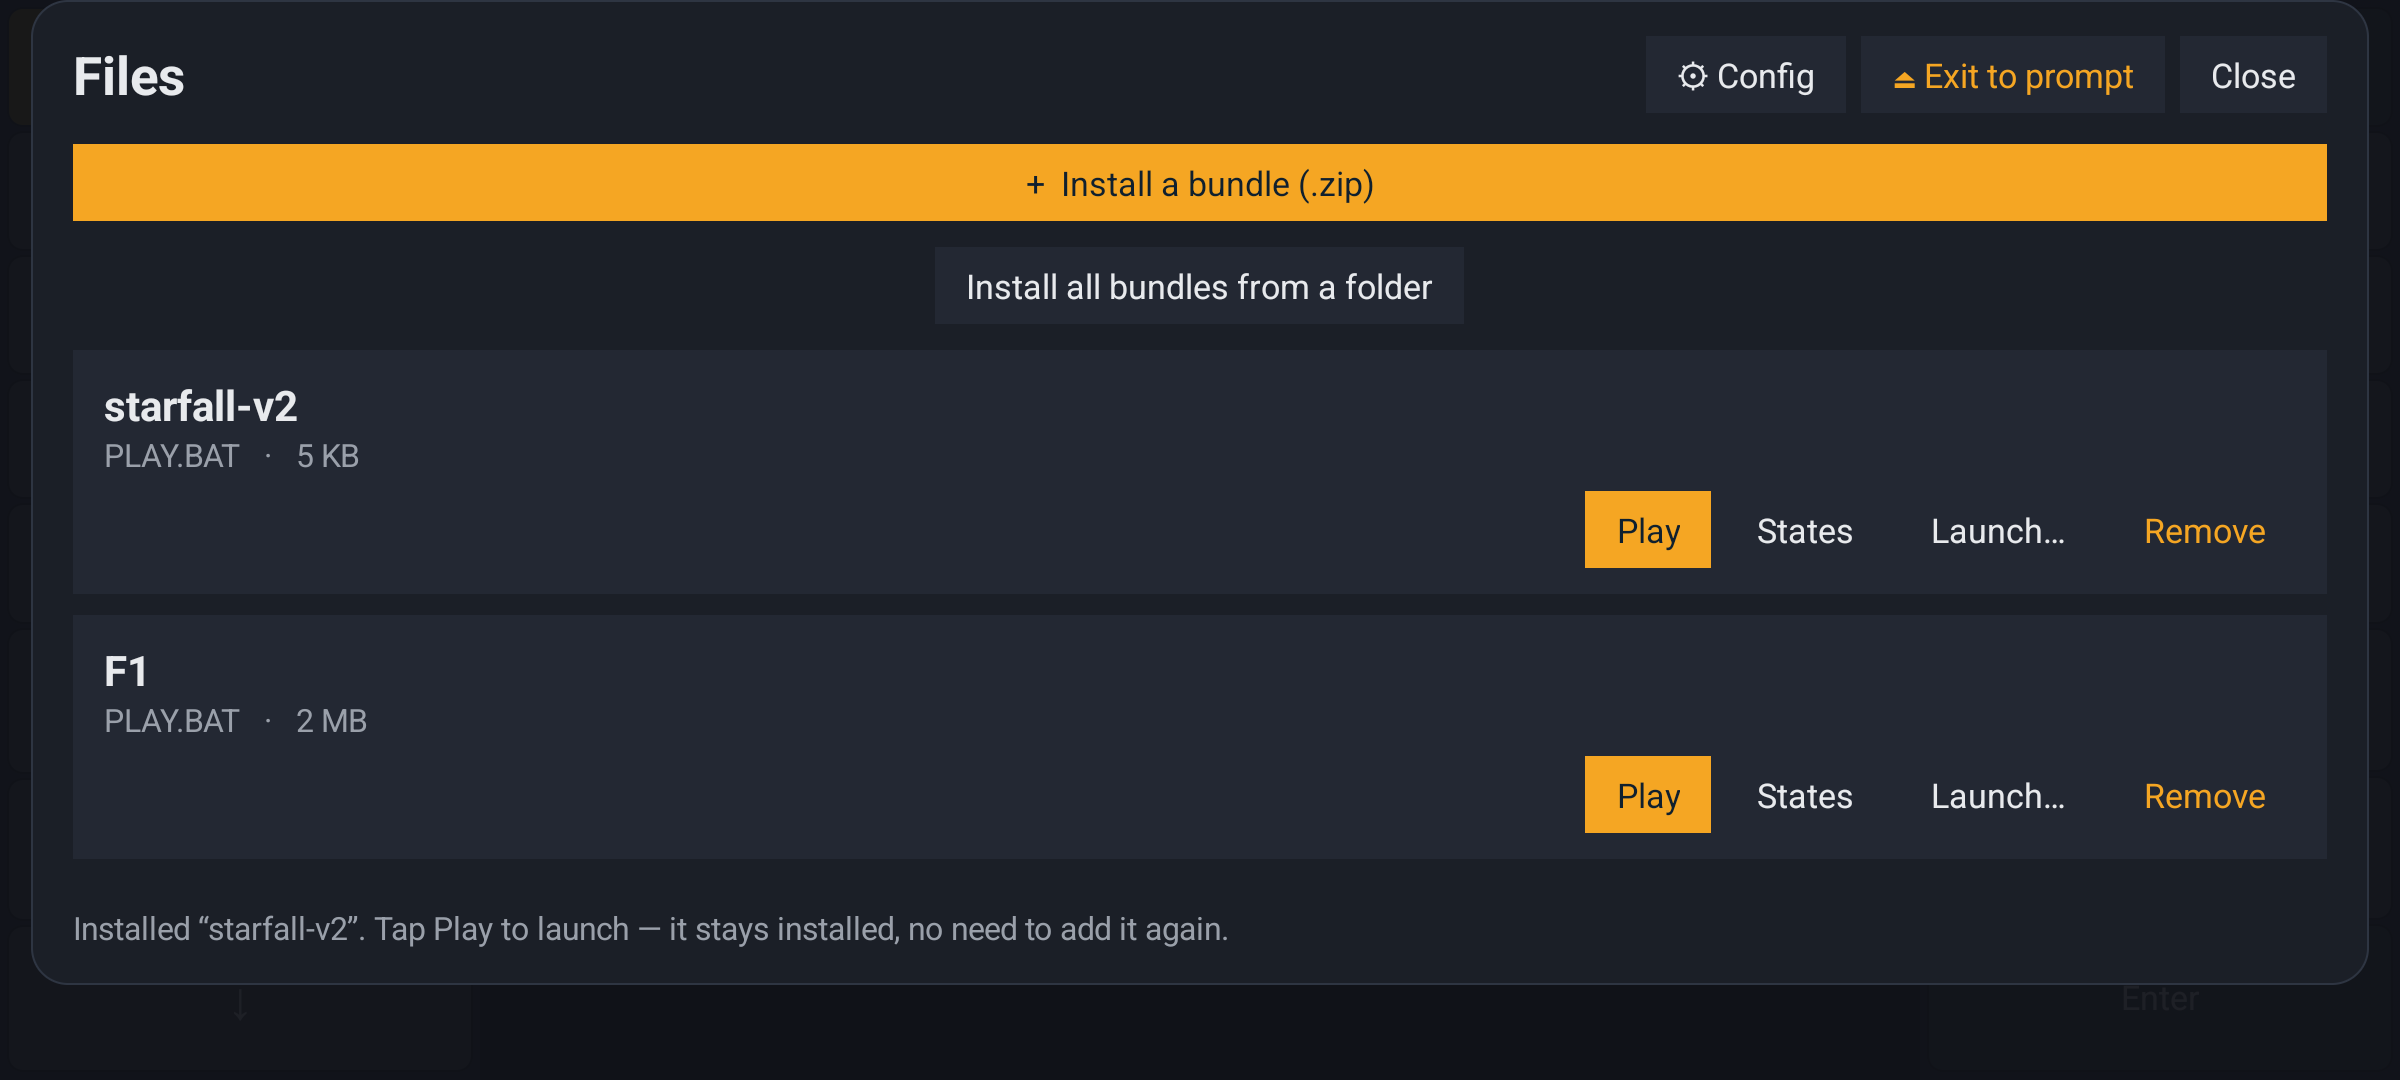
The Files panel with two games installed.
Each game in the list has four buttons:
| button | what it does |
|---|---|
| Play | start the game from the beginning |
| States | save and load save states for this game |
| Launch… | run a different program, or add driver files, before the game |
| Remove | uninstall this game from the app |
Where do I get a game?
A game for this app is a .zip with a small, fixed shape:
  the bundle
  ─────────
  PLAY.BAT          the entry point - the app runs this
  <the game files>  whatever the game needs
  __meta.json       the name the app shows in the list
That is it. The repository ships one, so you can see the shape and try the app immediately: examples/game-bundle — the STARFALL demo. Copy whereq-demo-bundle.zip from that folder to your phone and install it.
For real games: sites that still host abandonware DOS games generally offer them as a .zip. If a game's archive contains the game files but no PLAY.BAT, the app cannot start it — make a PLAY.BAT that runs the game's executable, and zip the folder again.
Step 3 — Play the game
Press Play.
The emulator restarts the app and boots the game, and you land at a DOS prompt:
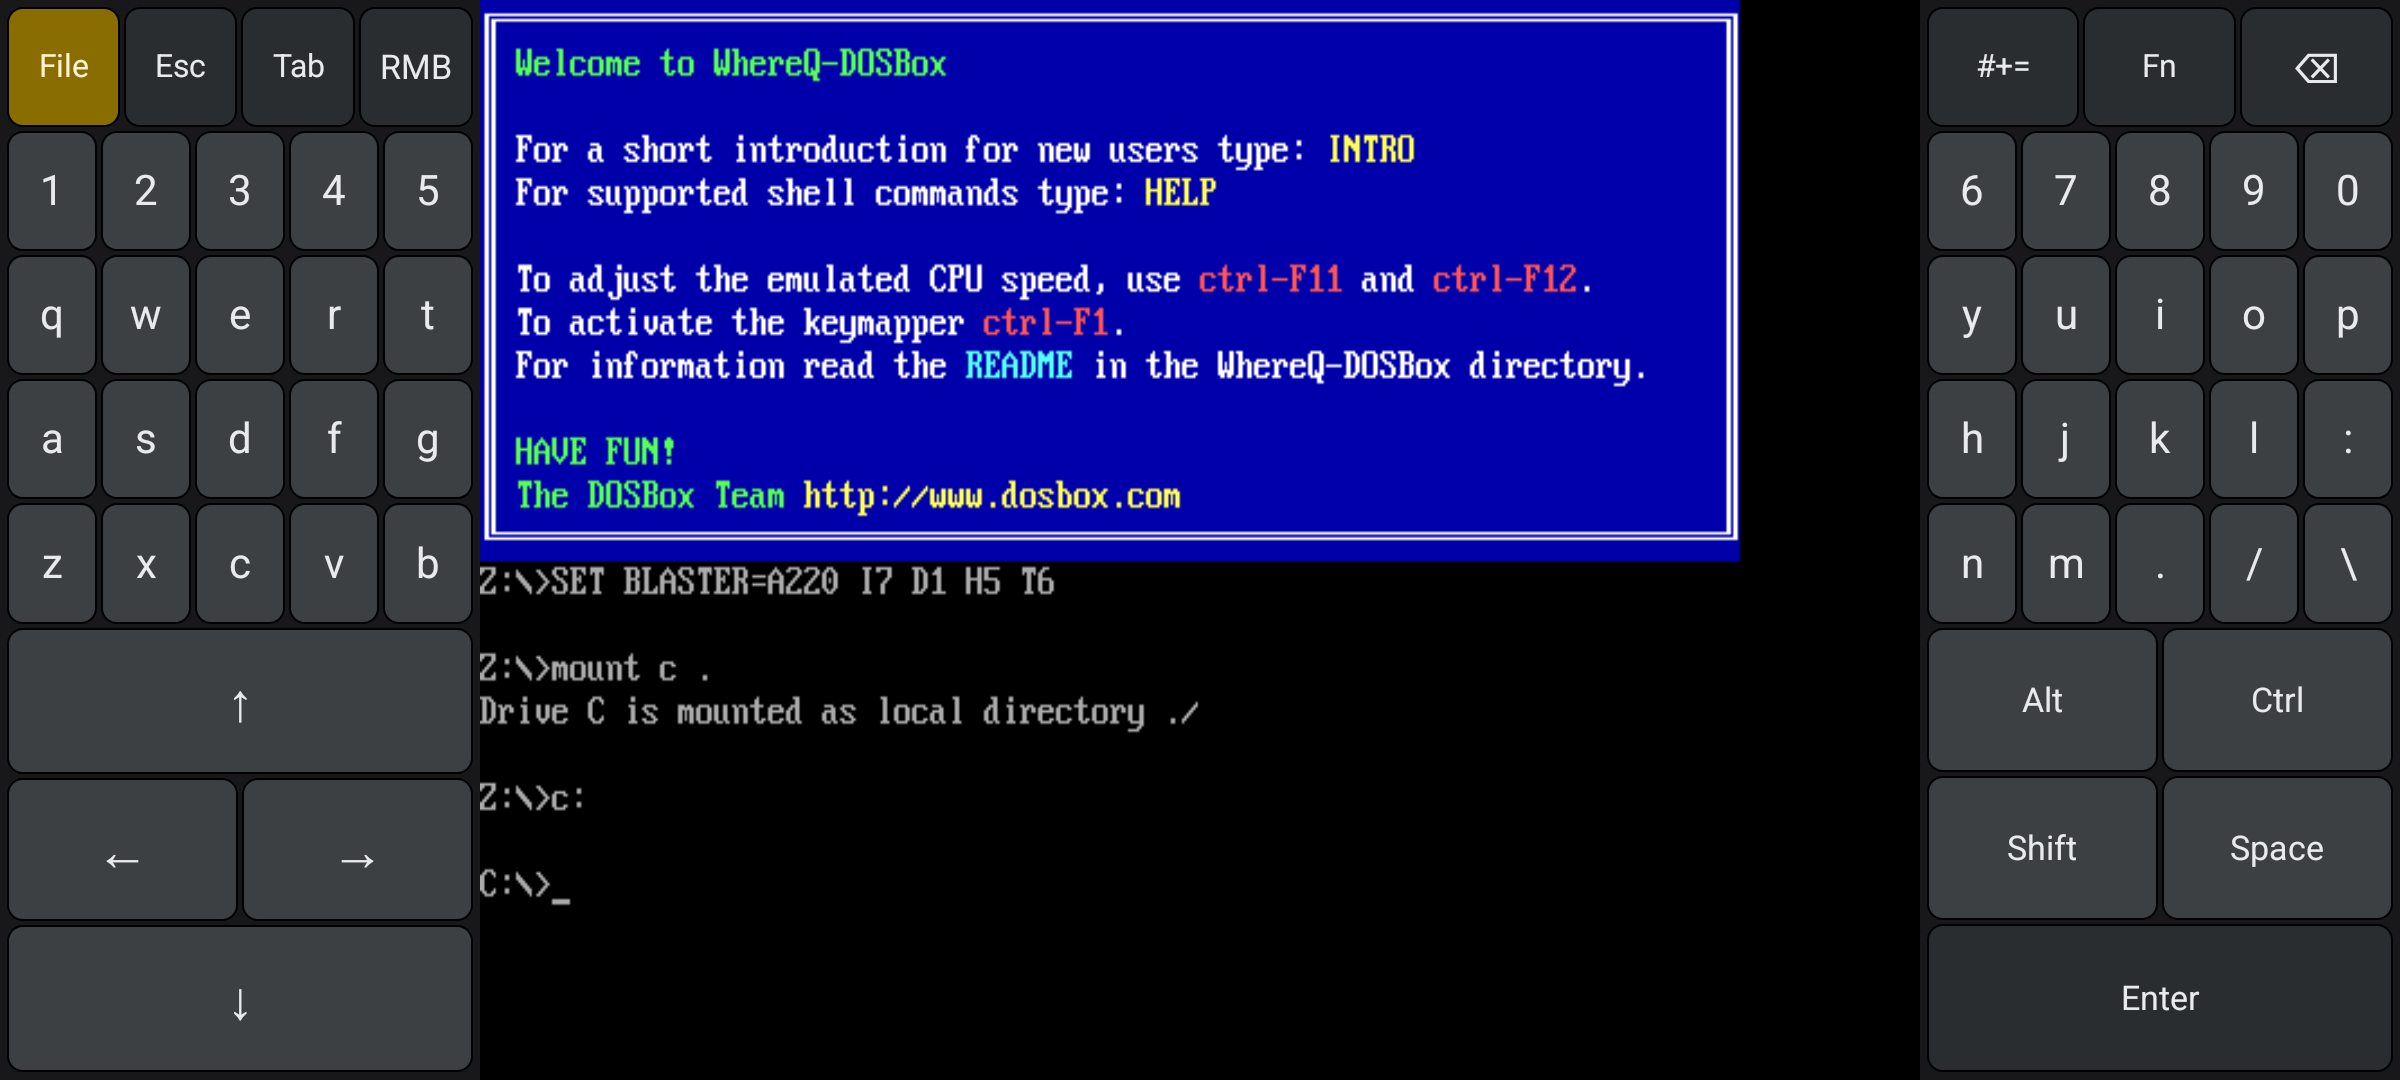
The DOSBox welcome banner and the C:\> prompt, with the on-screen
keyboard below it.
Type the game's name and press Enter. From then on it is the real game — the real keyboard, the real sound, the real mouse.
Here is a real 1994 DOS game running on a phone:
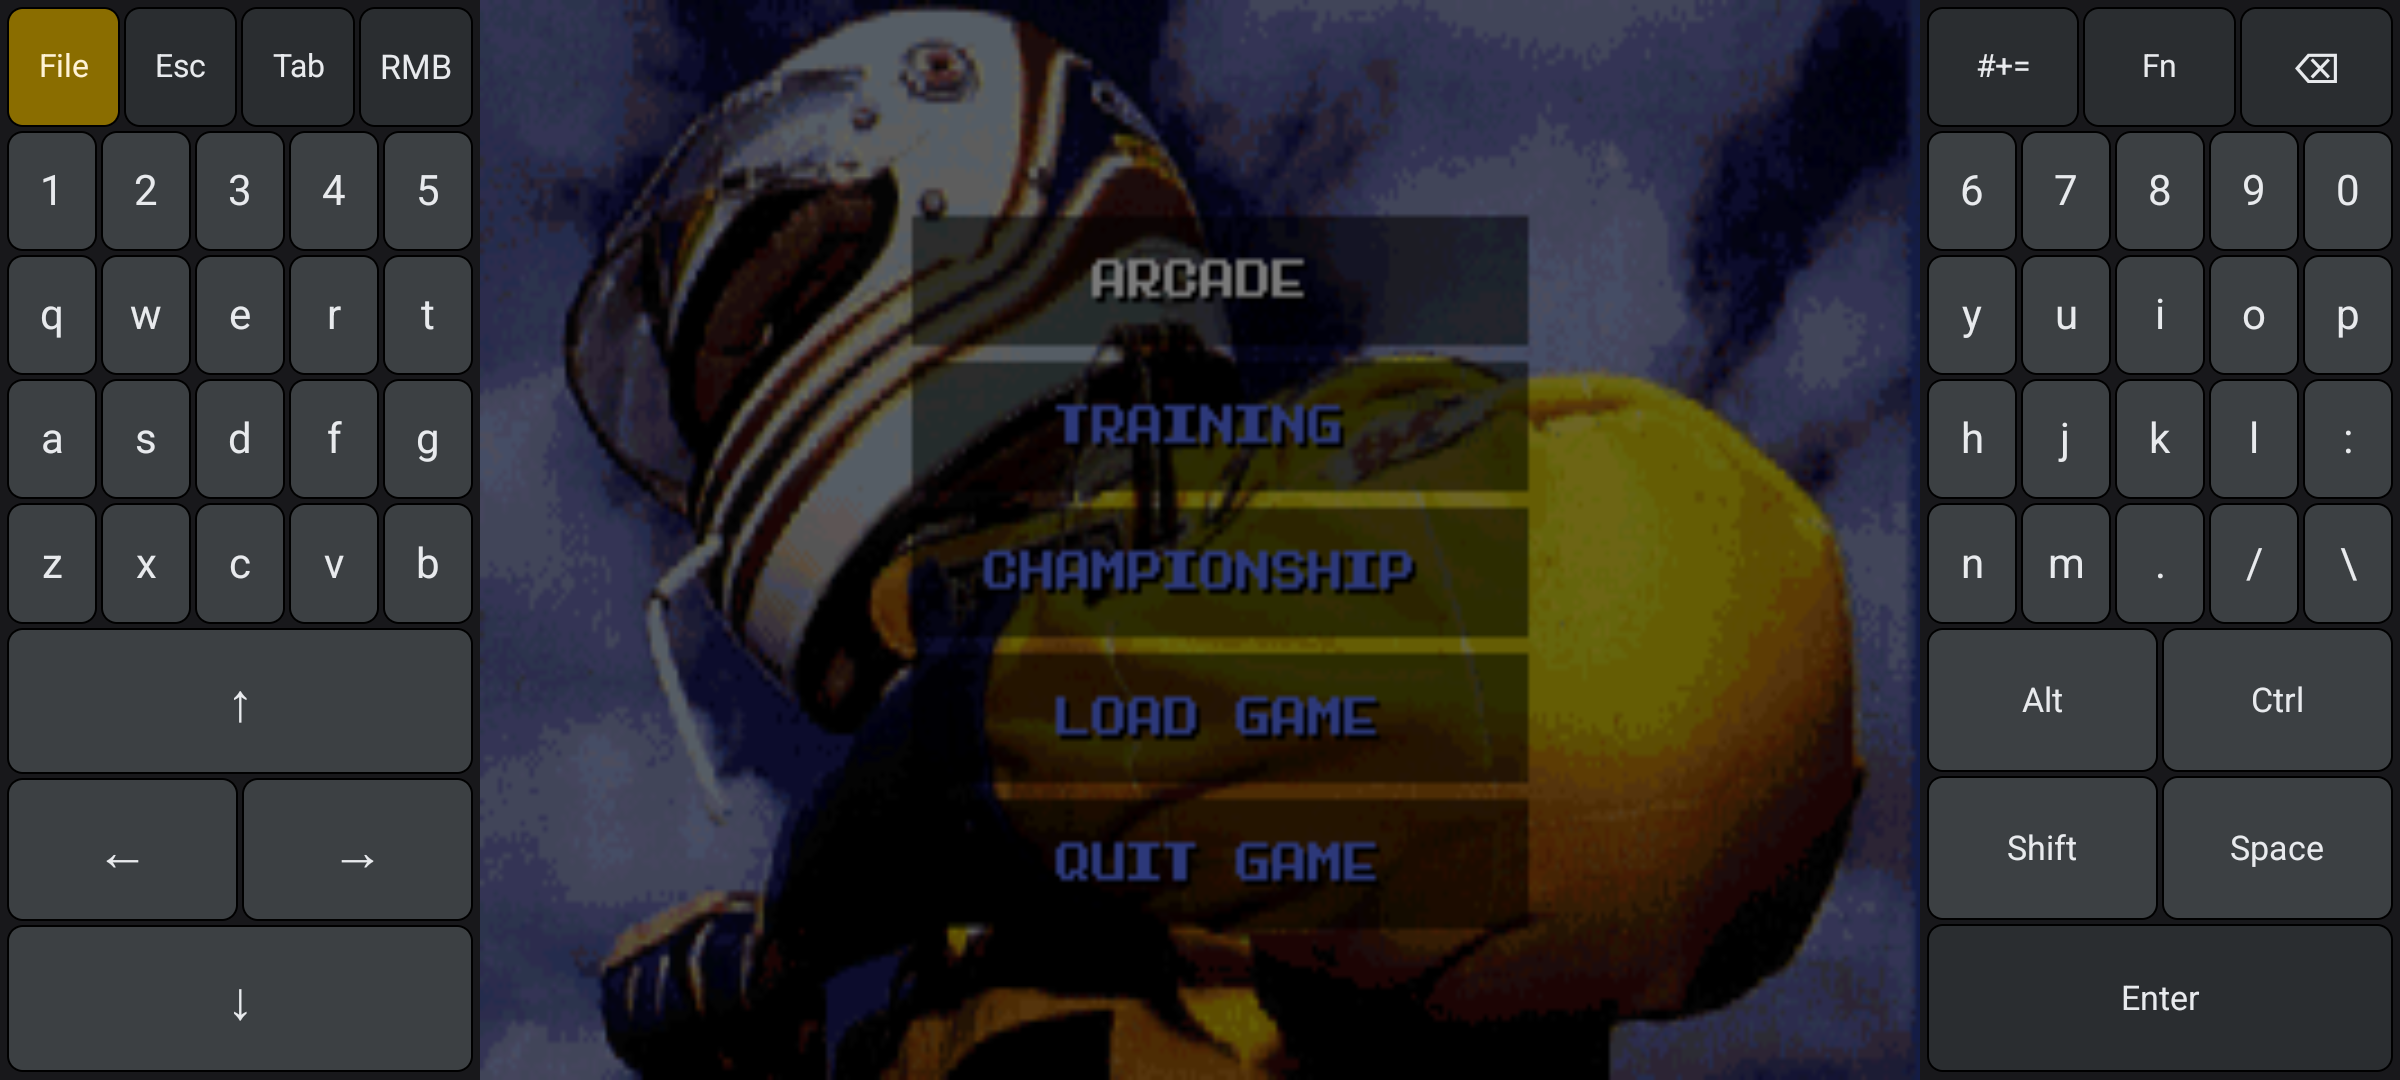
Formula 1 (Domark, 1994) running on the phone, with the on-screen keyboard around it.
And here is the STARFALL demo:
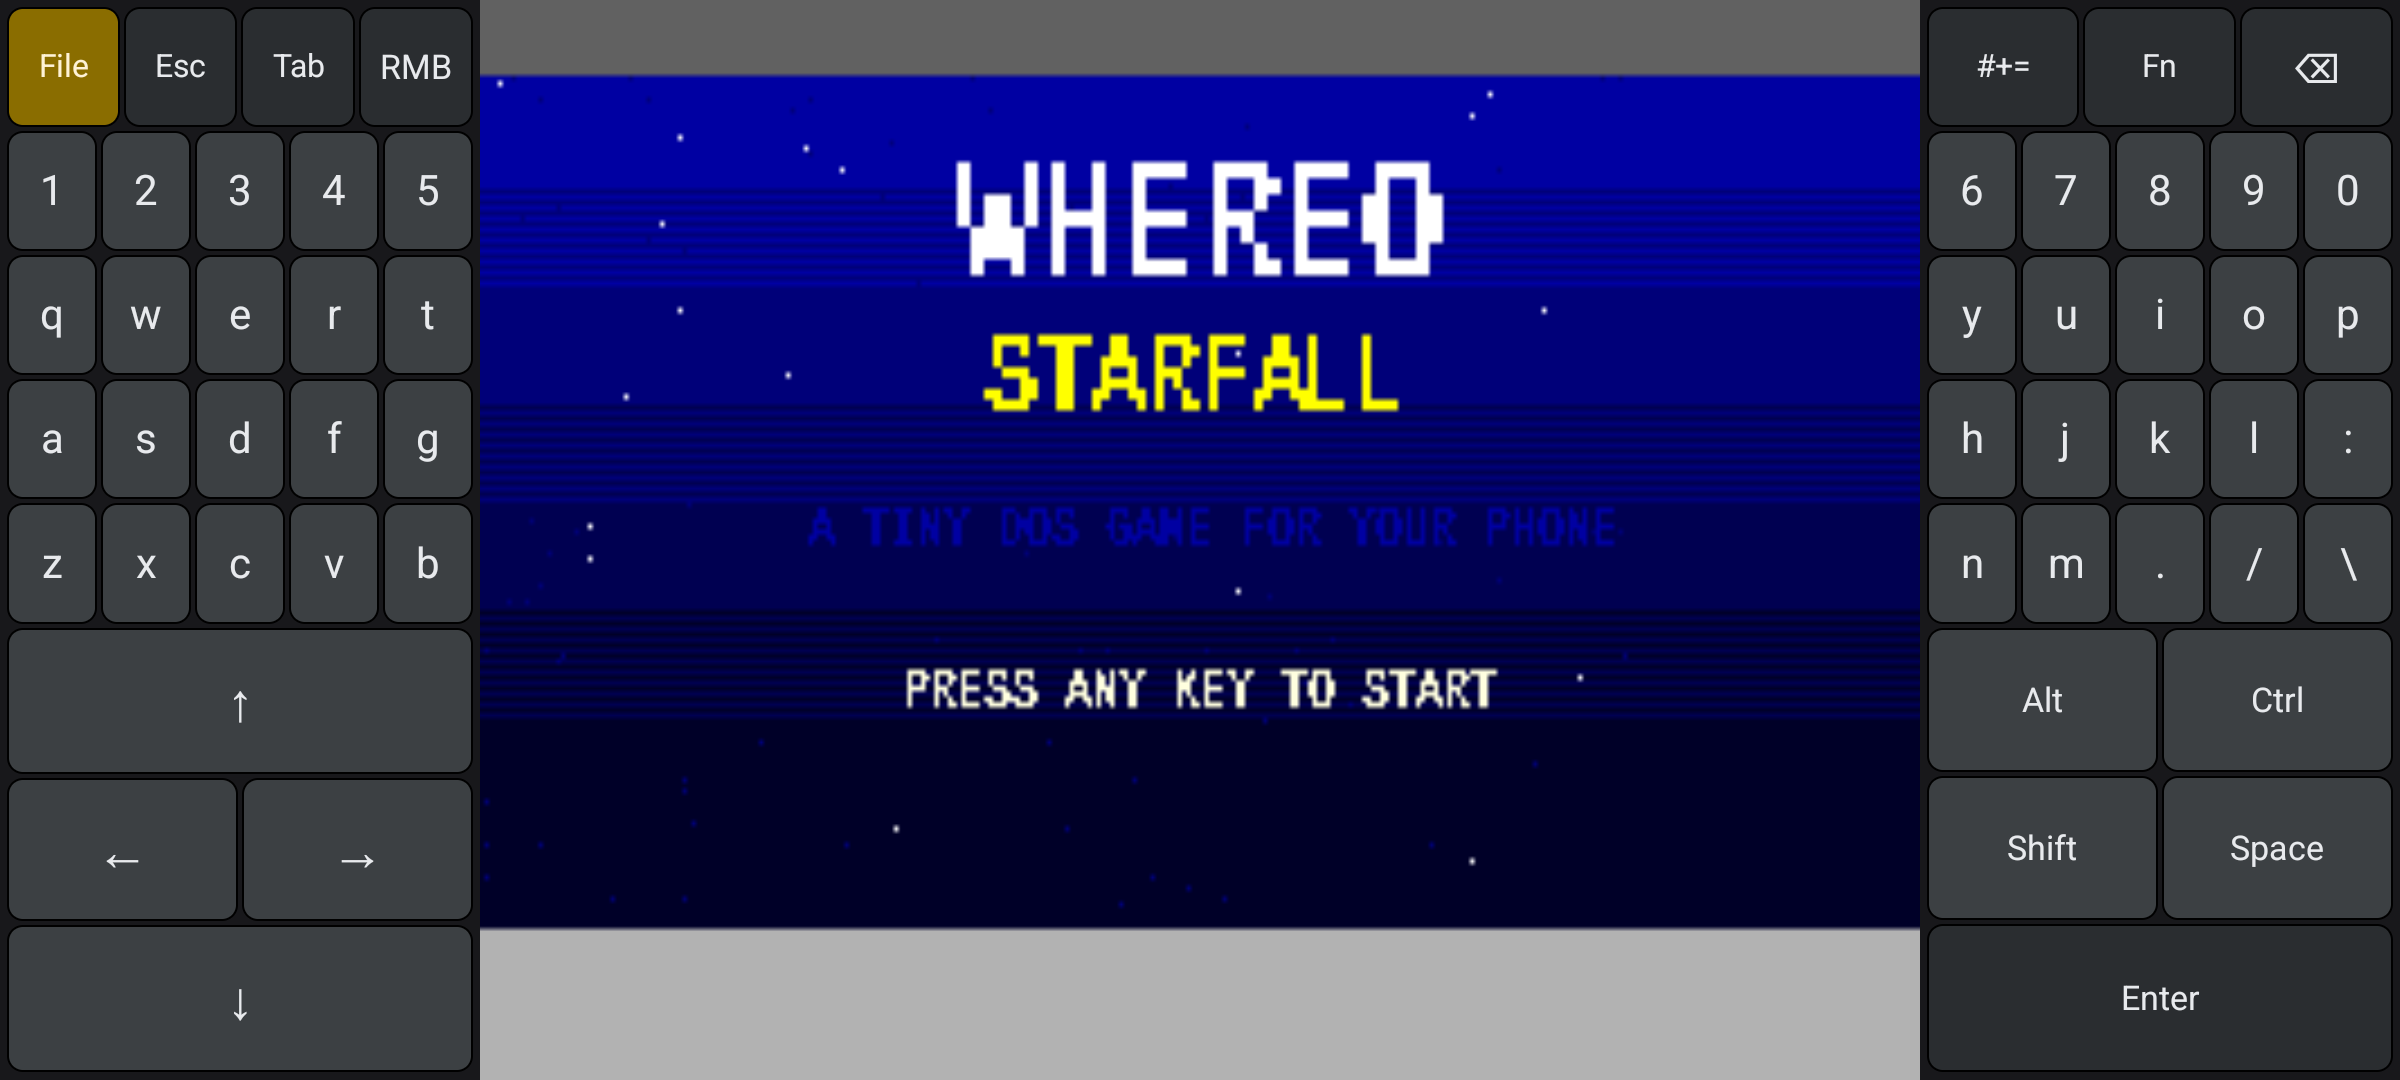
The STARFALL title screen.
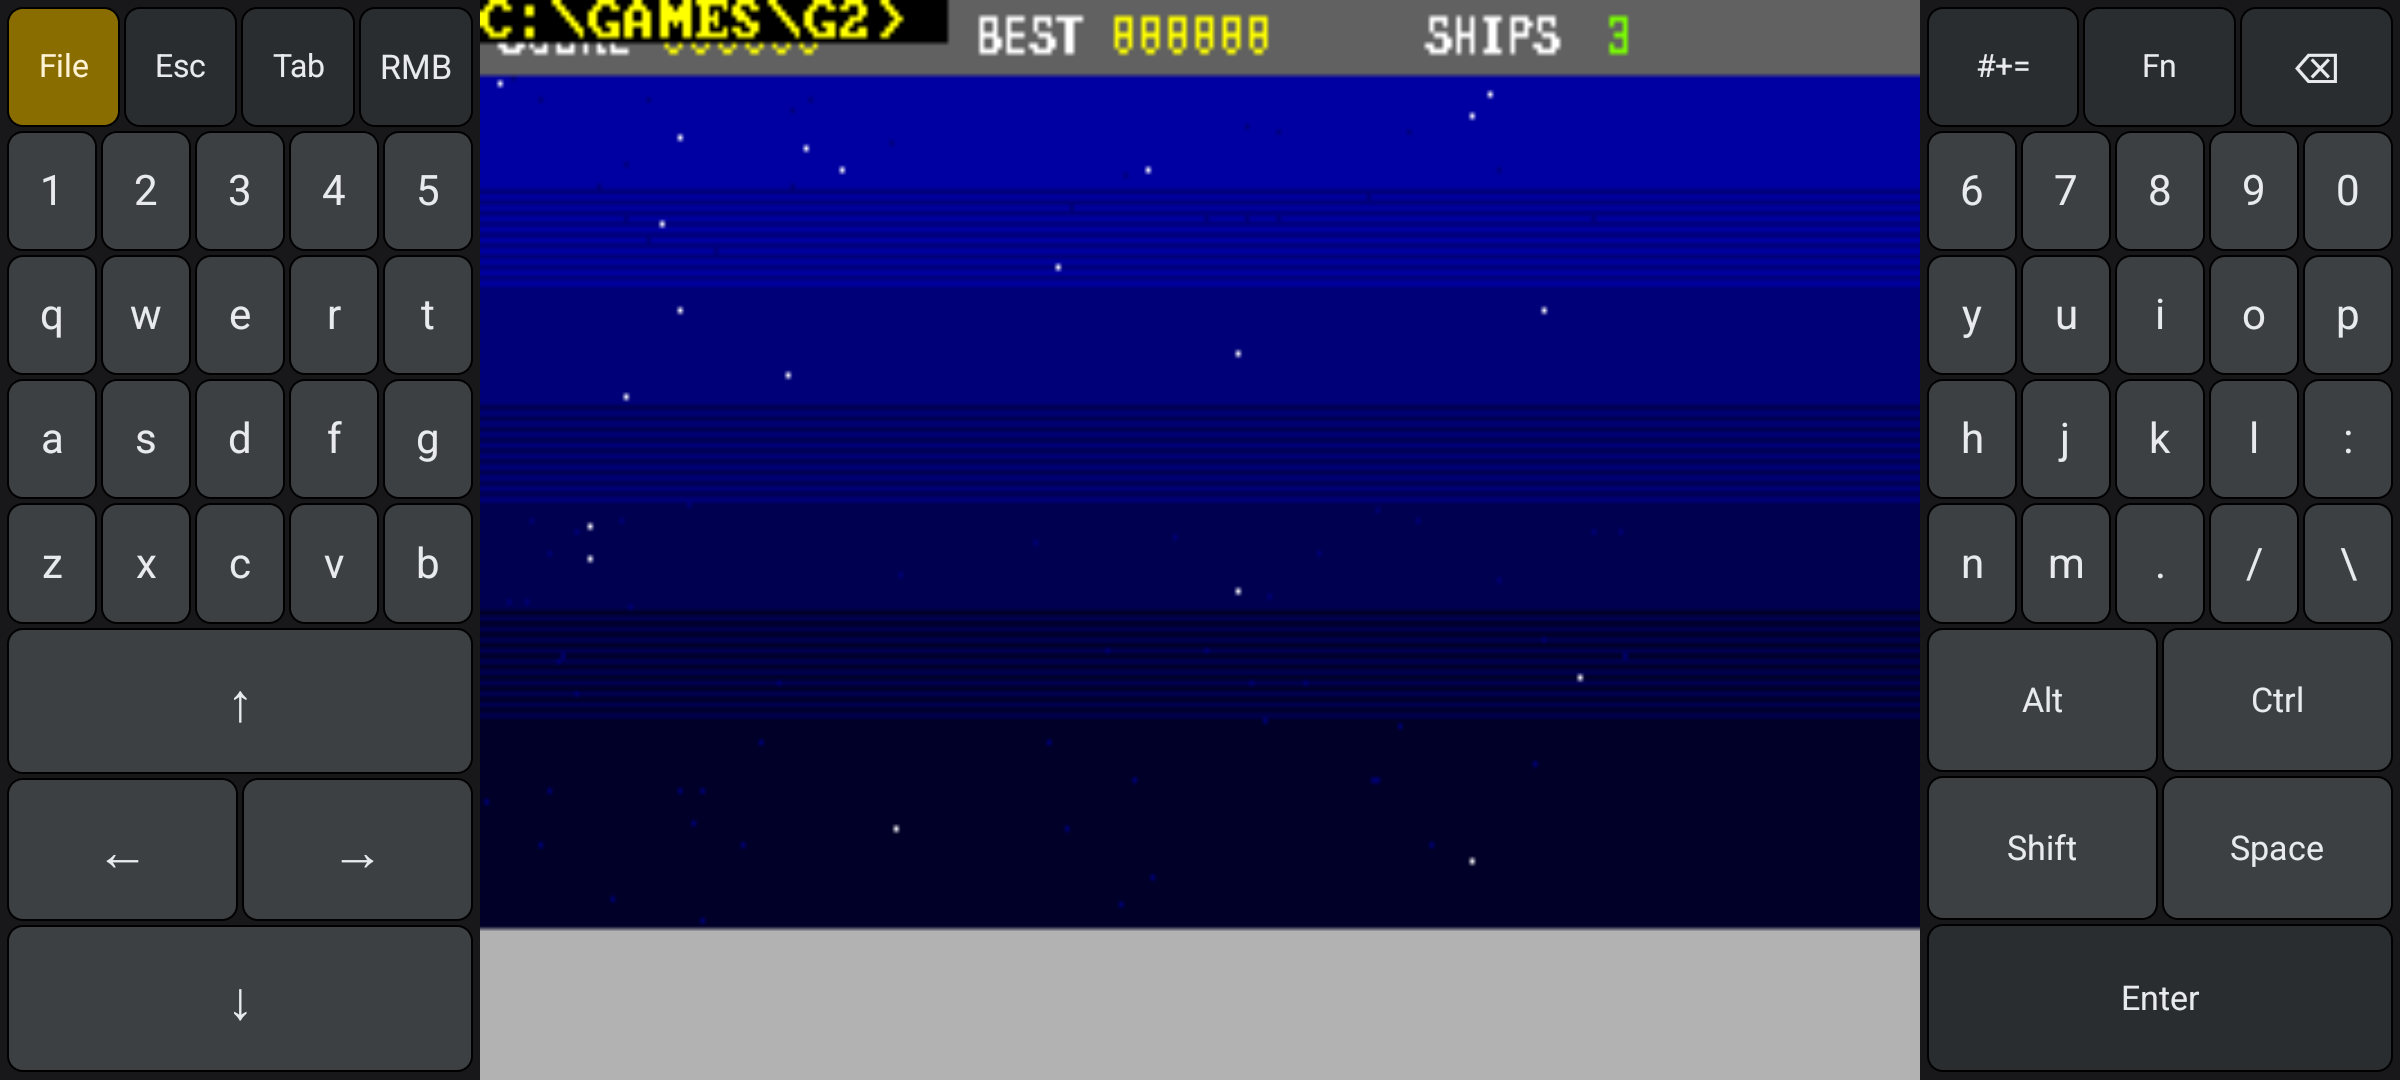
STARFALL being played, with the two keyboard pads beside the picture.
The first time a game runs, Android may ask whether the app may send you notifications. It uses them for a "back to the game" reminder when you leave the app. Answer either way — declining only means you lose that reminder:
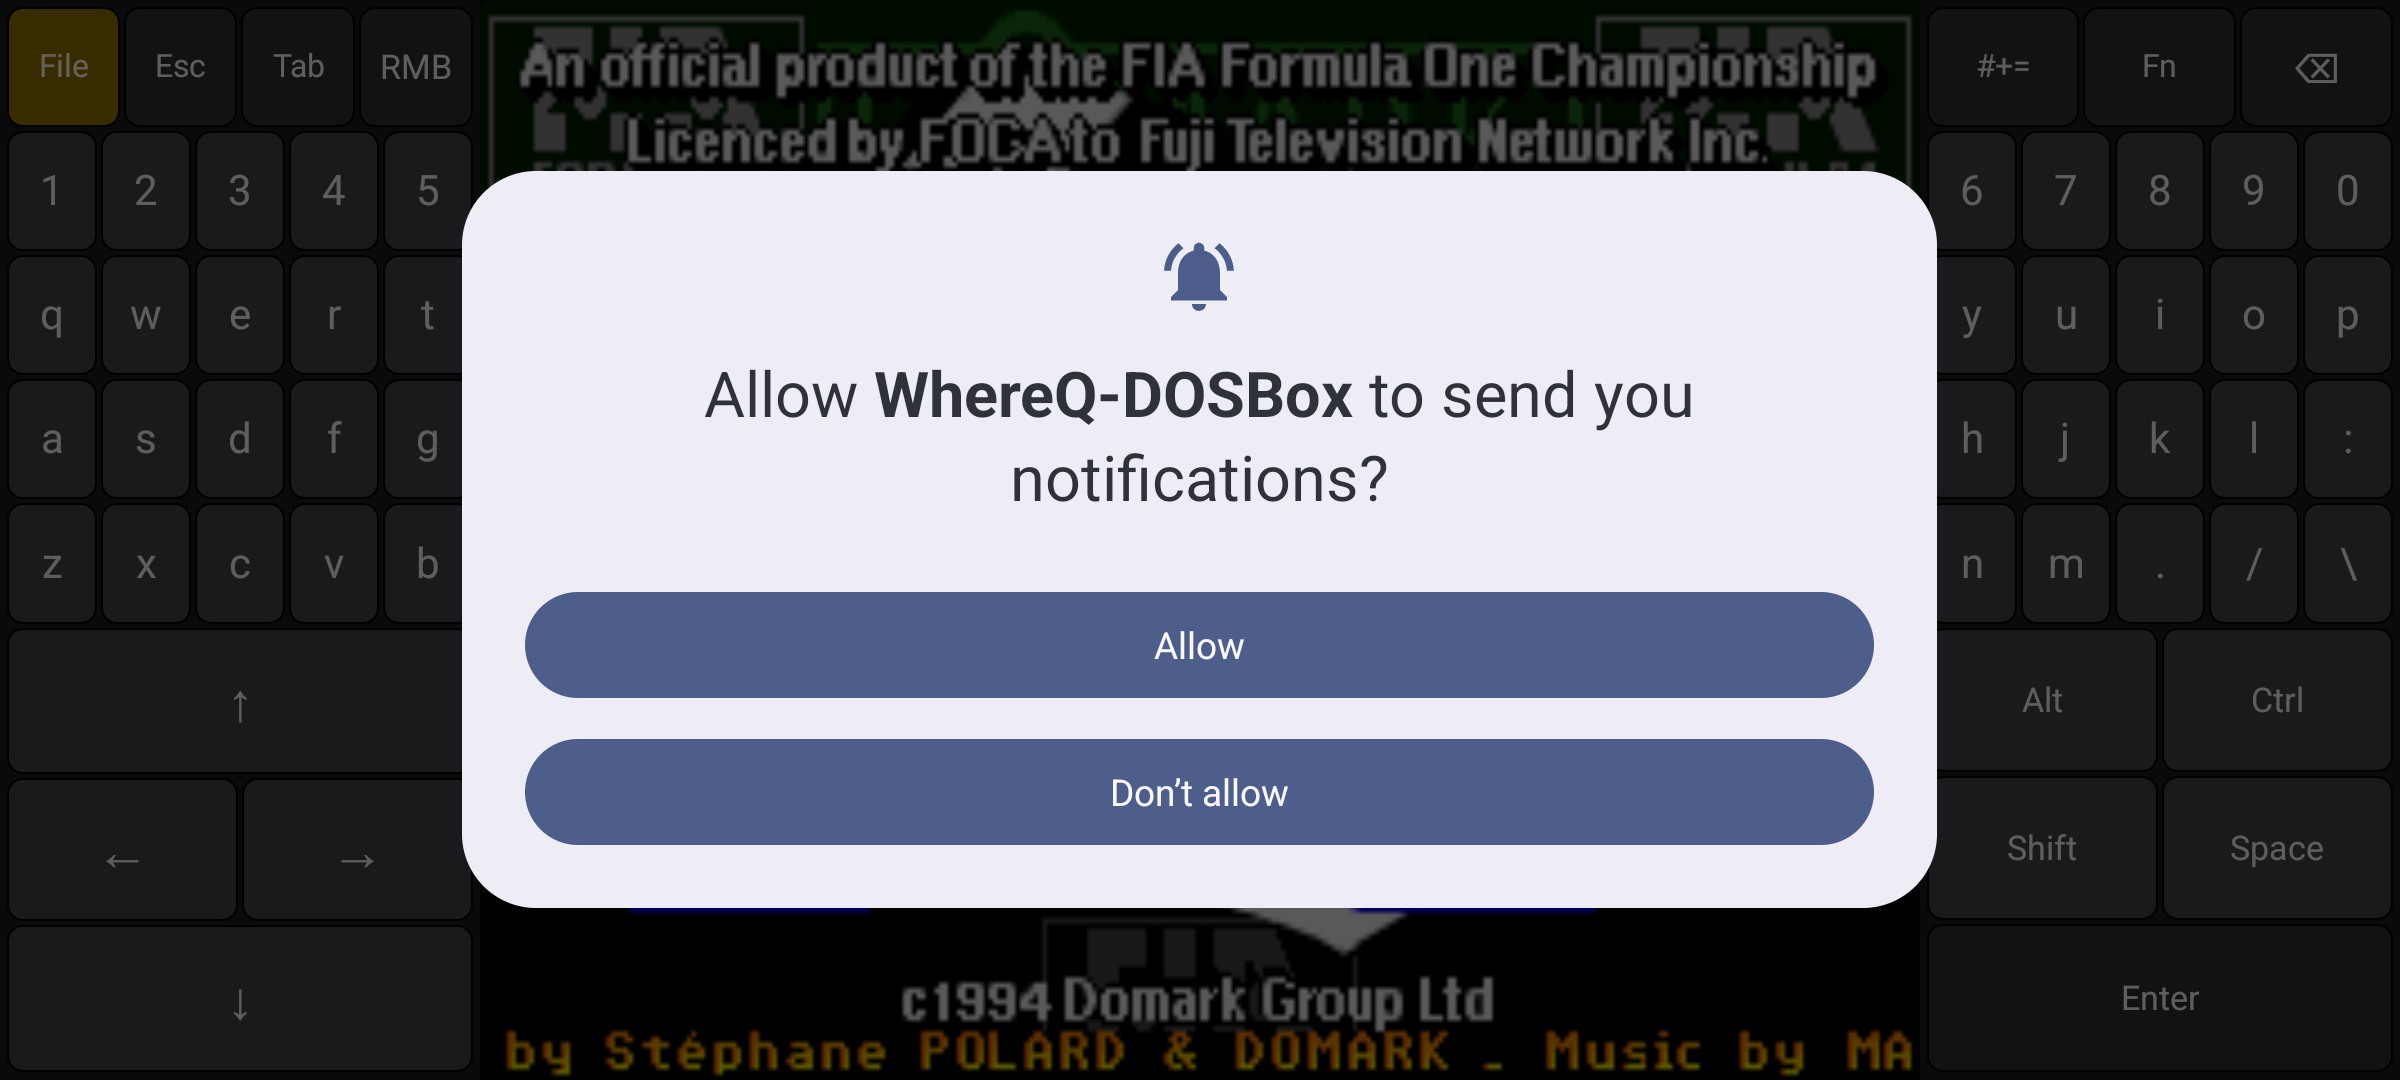
The Android notification permission prompt.
When a game is running, the File key (top left) brings the Files panel back over it, and the panel shows a Resume line for the game that is running right now:
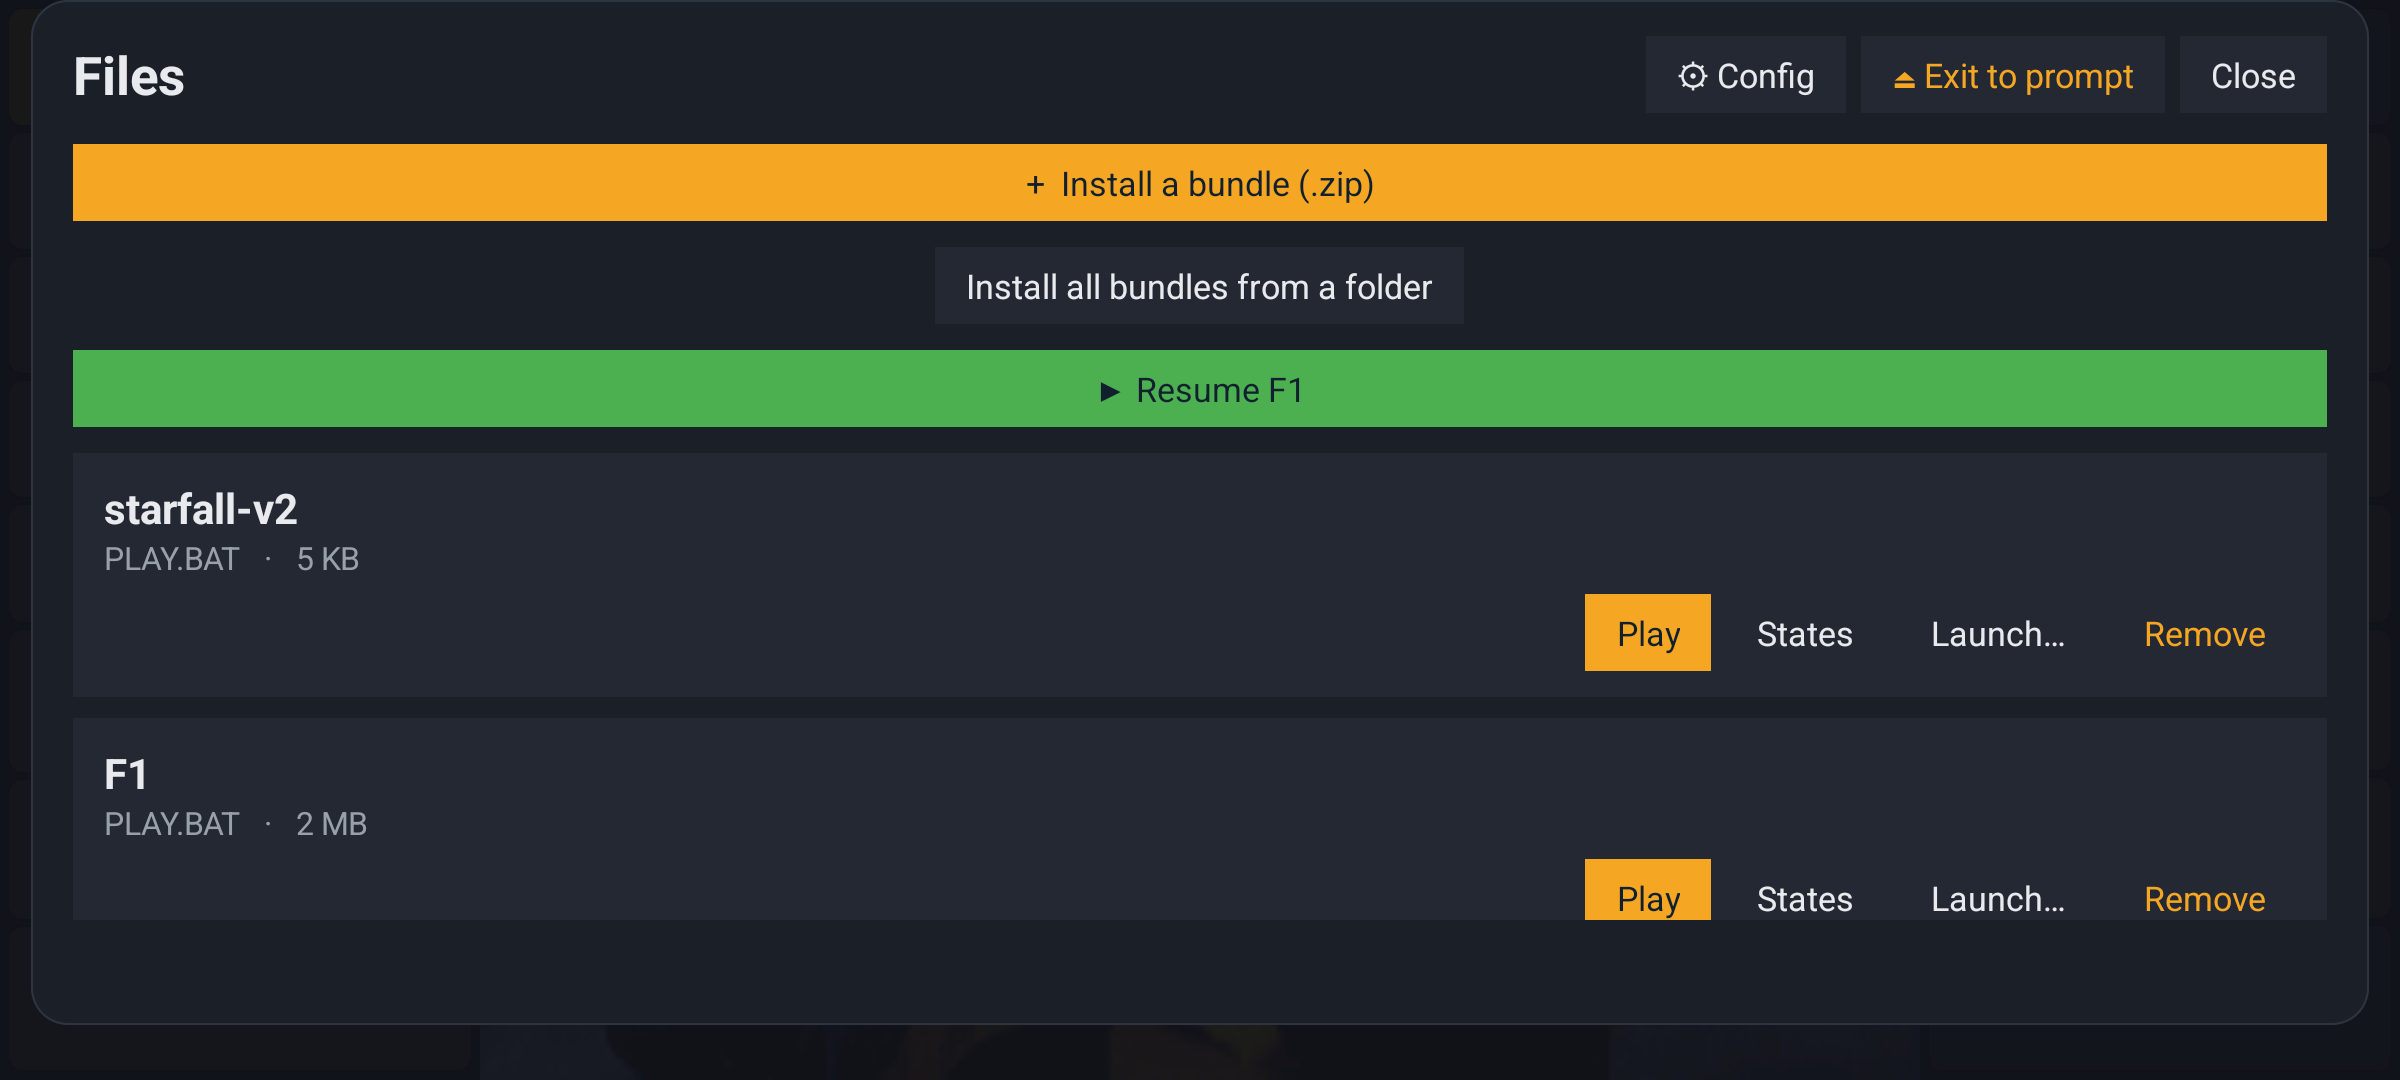
The Files panel over a running game, with Resume F1 above the list.
Step 4 — The keyboard and the mouse
There is no physical keyboard in the way, because the screen keyboard is the keyboard. In landscape you get two pads beside the picture, the way a handheld console is built: the left pad has the arrow keys as a D-pad and the left half of a split QWERTY, the right pad has the action keys (Alt, Ctrl, Shift, Space, Enter) and the right half of the alphabet.
Two keys change what the pads show:
| key | shows |
|---|---|
| #+= | the punctuation layer |
| Fn | F1–F12, Ins/Del, Home/End, PgUp/PgDn, Caps, PrtSc, Pause |
The switched key lights up while its layer is on.
Modifiers work two ways. Tap Ctrl, Alt or Shift and it stays armed for the next key — Ctrl, then C. Hold it and it behaves like a real key for as long as your finger is down, which is what a game expects of its fire and strafe keys while the other thumb steers.
The mouse is the screen. Your finger is the mouse: drag to move the pointer, tap to click, and the on-screen RMB key (on the left pad, next to Tab) is the right mouse button — in most DOS games that is cancel or back. A second finger on the picture does the same, at that finger's own position.
Turn the phone to portrait and the pads fold into a single strip along the bottom, for the games that are taller than they are wide.
Step 5 — Save a state
A save state is the whole machine frozen: the CPU, the memory, the video memory, the sound chips, the open DOS file handles. Load it and the game is exactly where you left it — even if the app was closed in between.
Press File, then States next to the game:
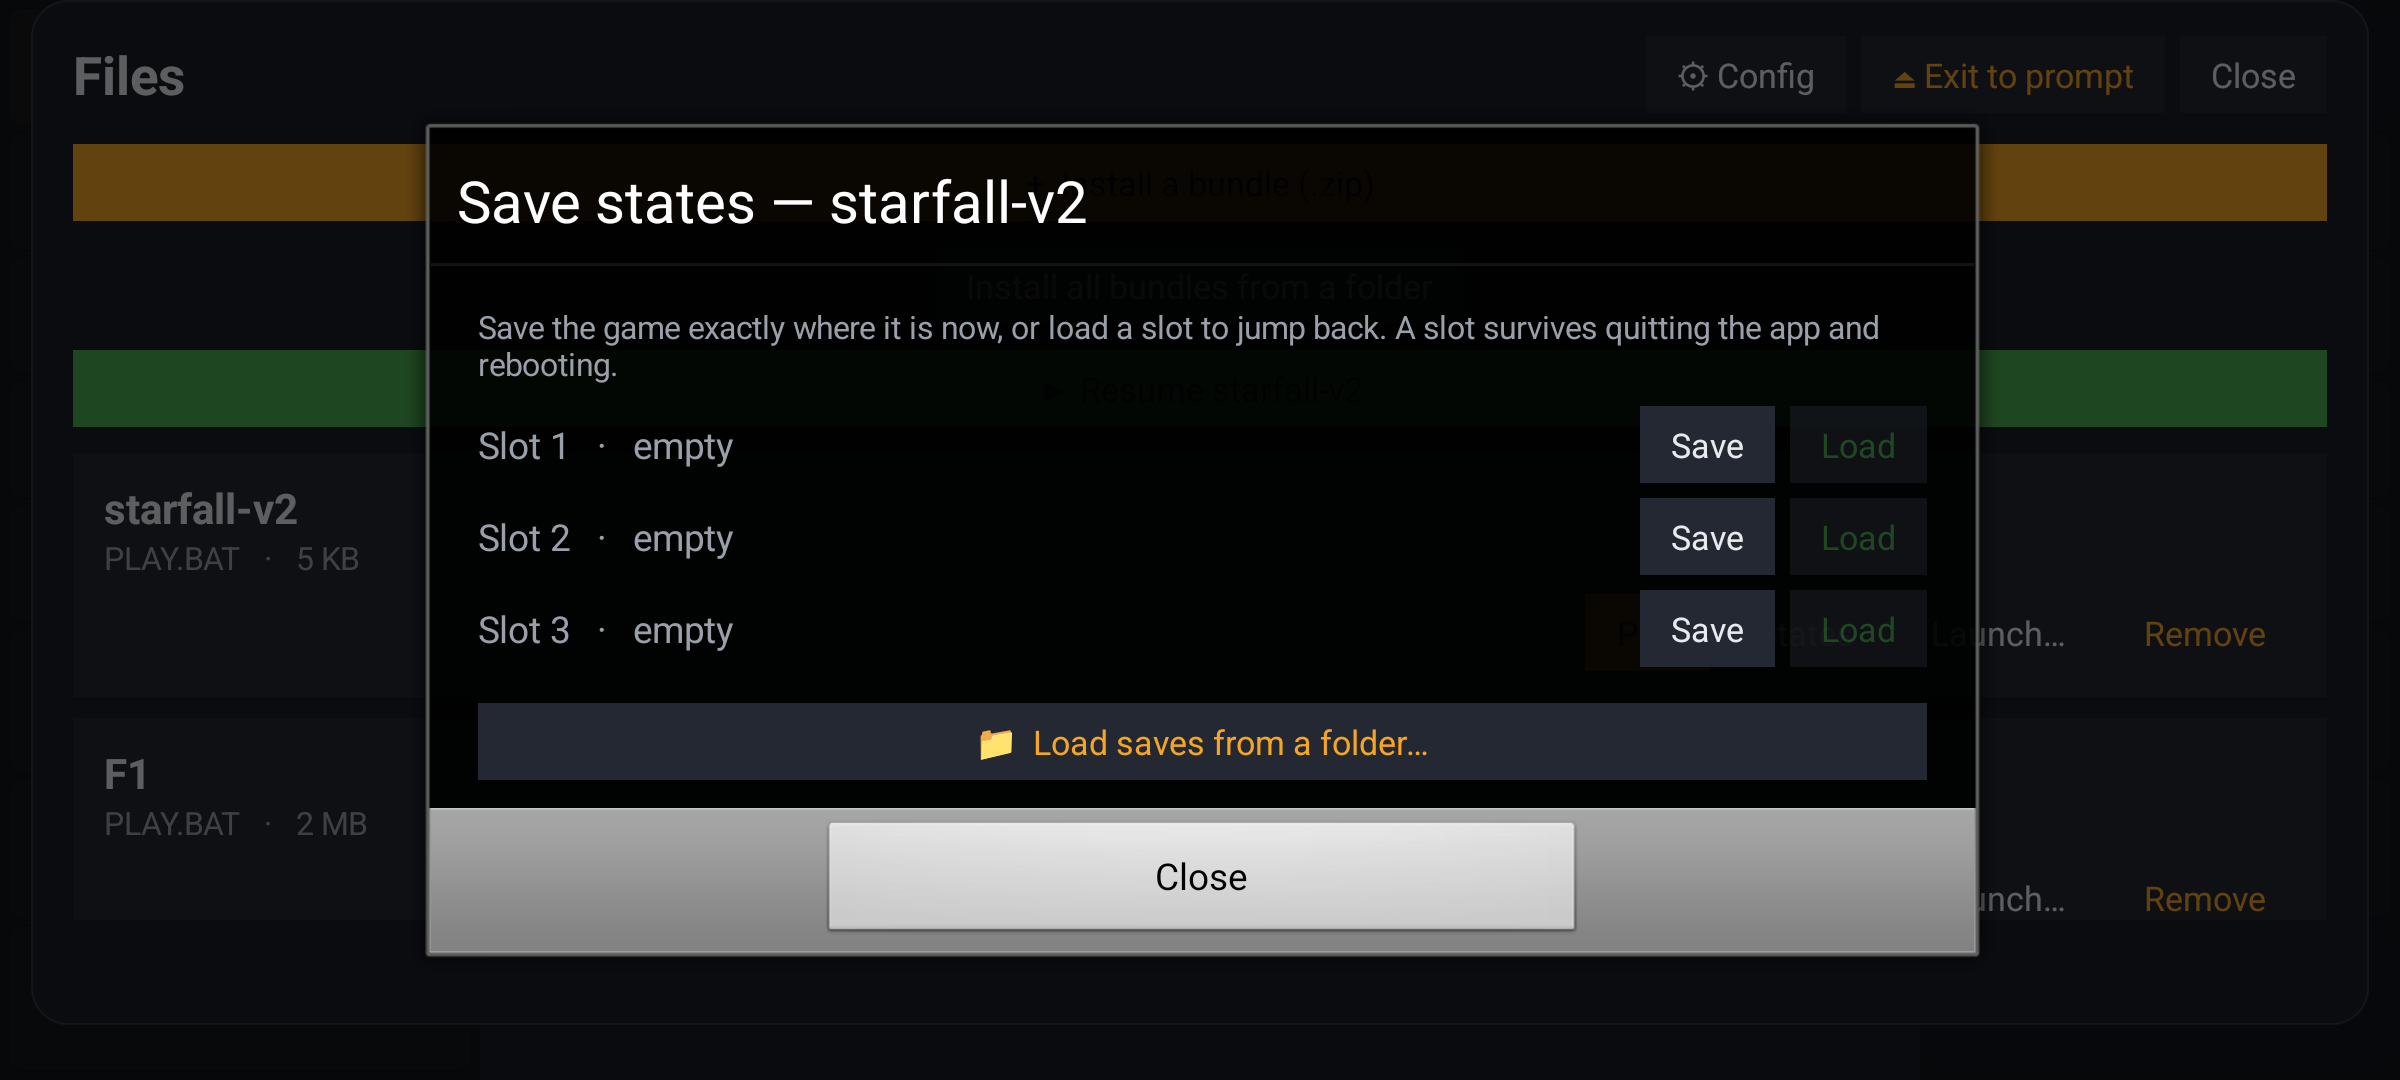
The Save states sheet, with three empty slots.
There are three slots. Press Save to freeze the game into slot 1, and the sheet shows when you did it:
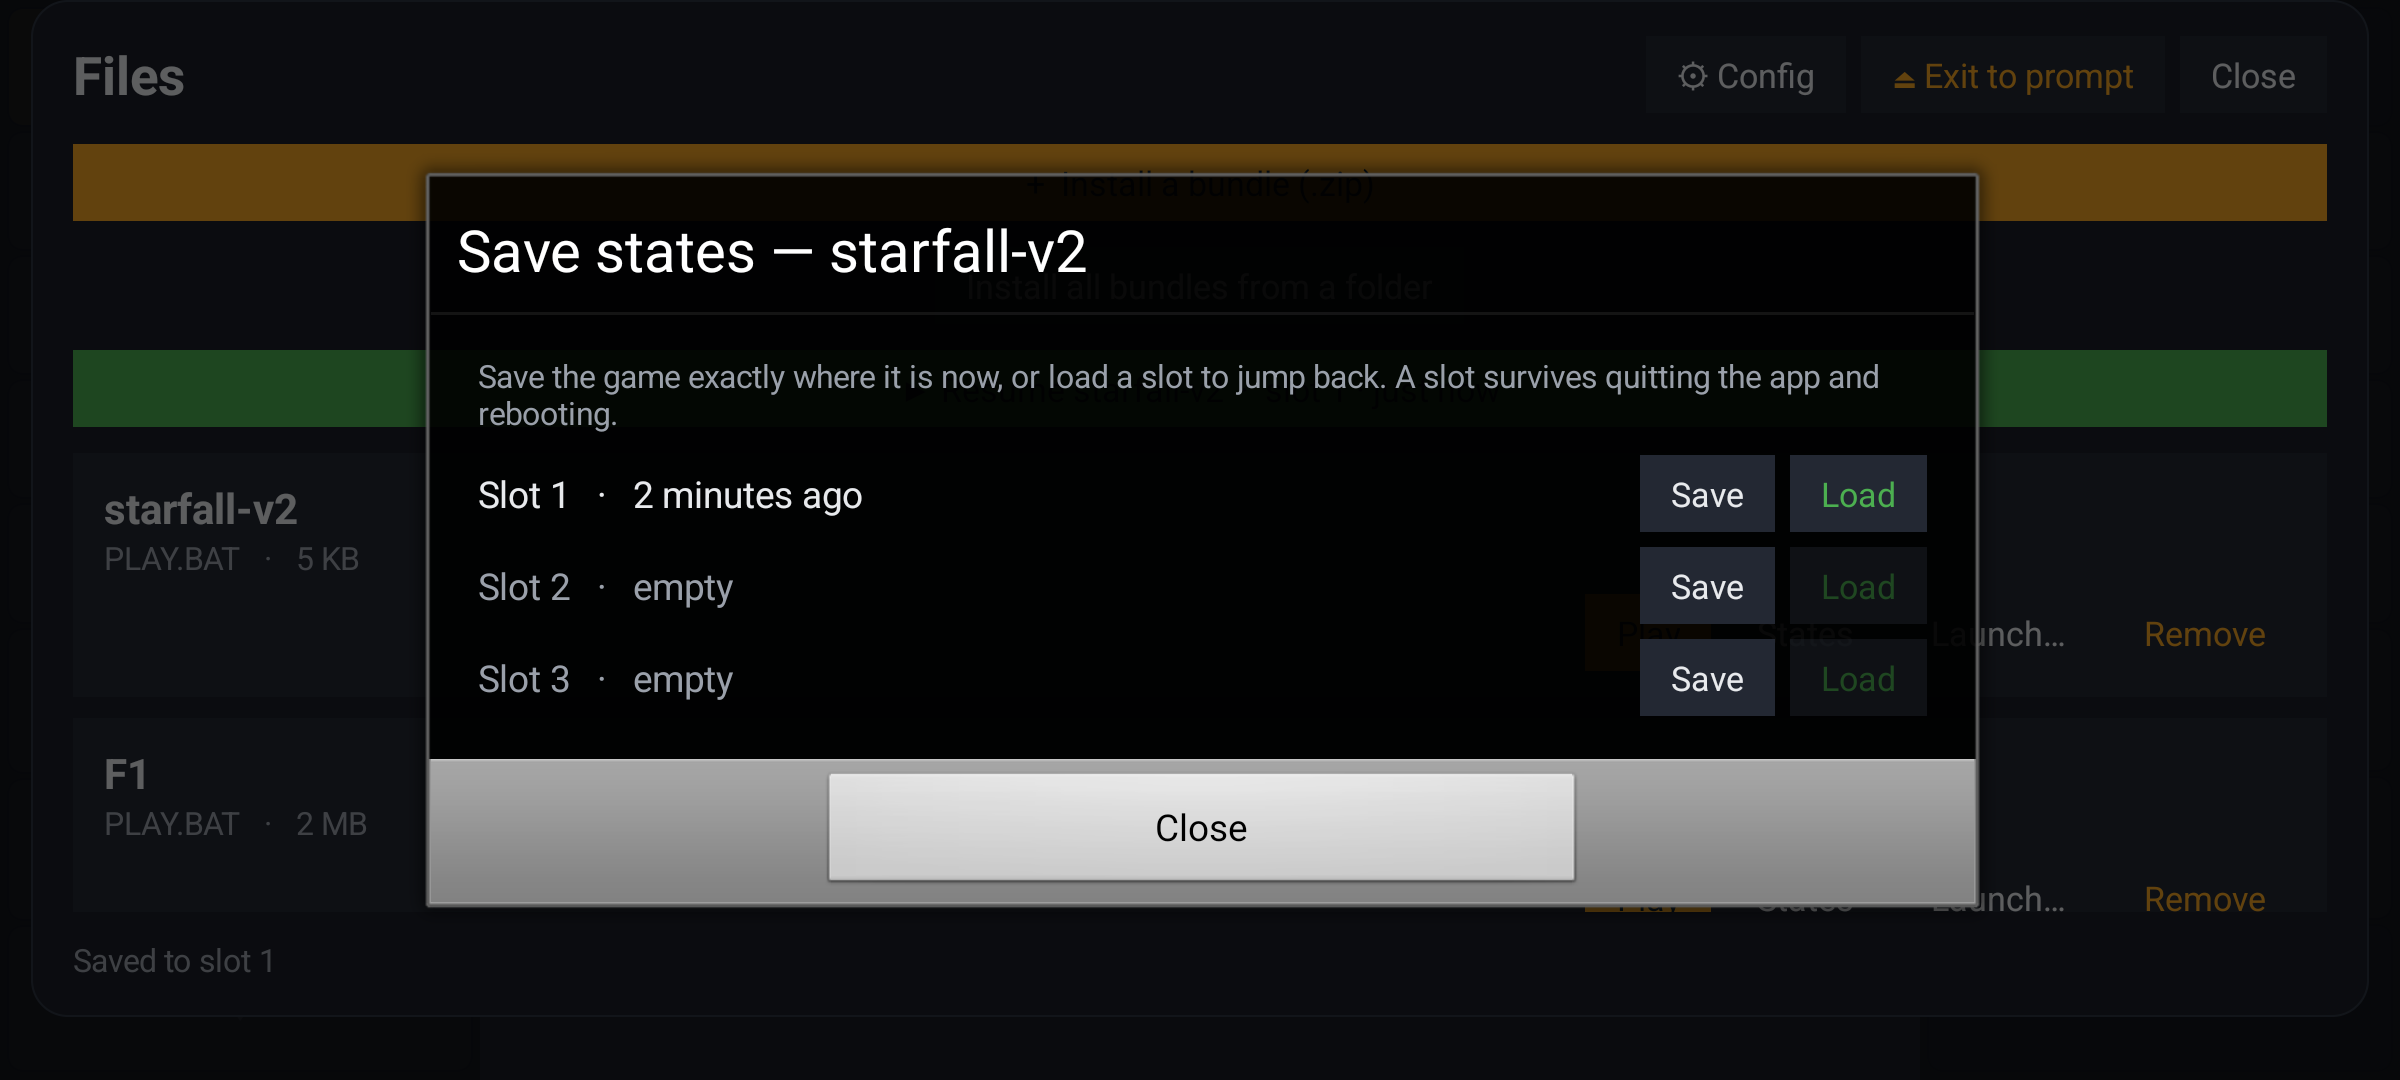
The sheet with a saved slot — Slot 1, two minutes ago.
Close the sheet and the Files panel carries a Resume line for the game, naming the slot and the moment it was made:
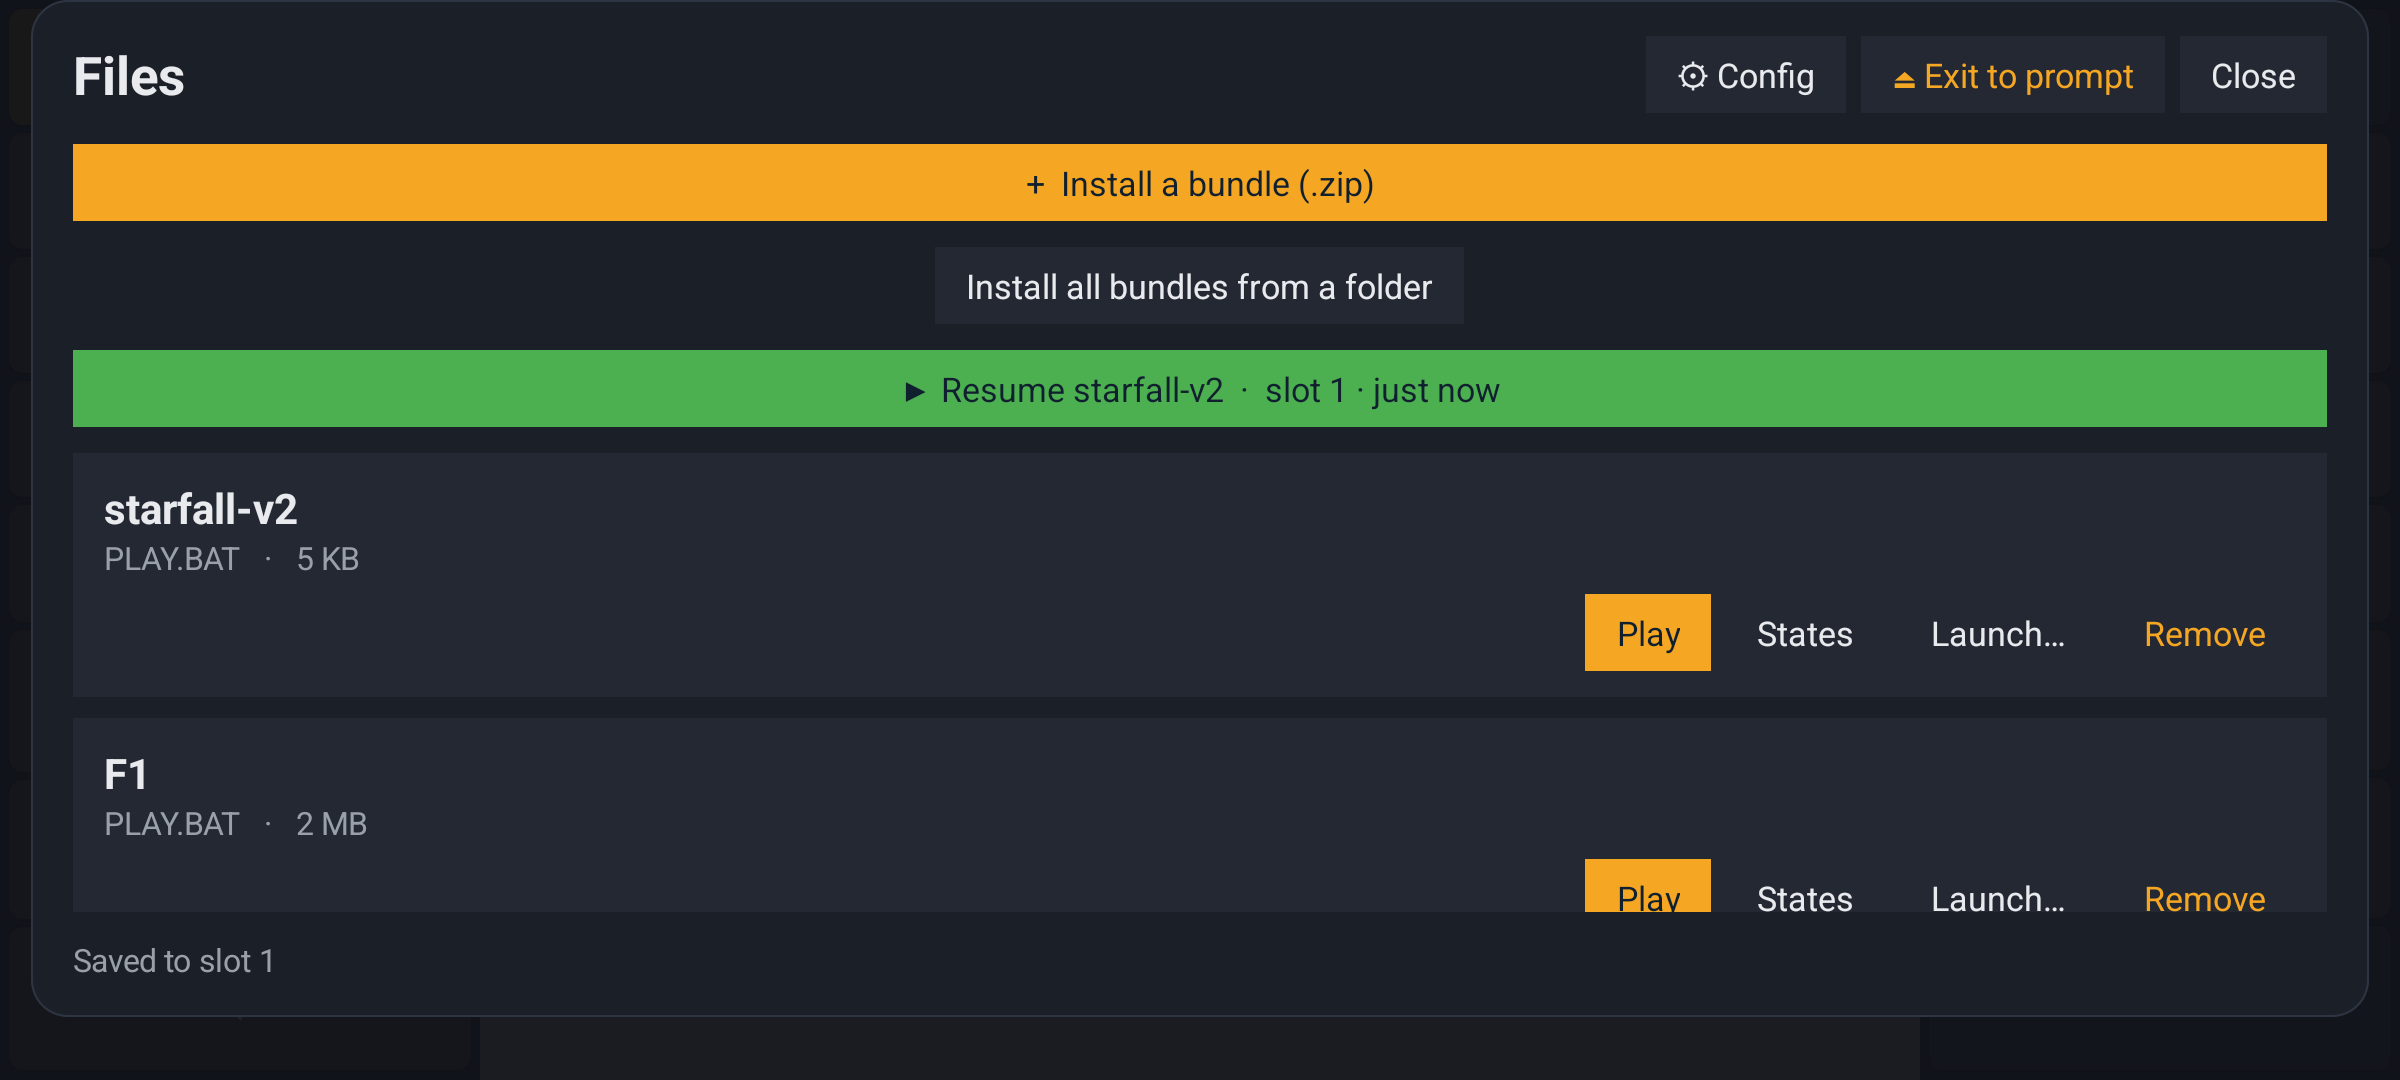
The Files panel with Resume starfall-v2 · slot 1 · just now.
Load puts the game back. A slot survives quitting the app and rebooting the phone.
Step 6 — Keep your saves safe
A save state normally lives inside the app's own private storage. Android deletes that when you uninstall the app — and when you lose the phone, or switch phones. Your games and your saves go with it.
So the app asks, once, whether you want a second copy somewhere that is yours:
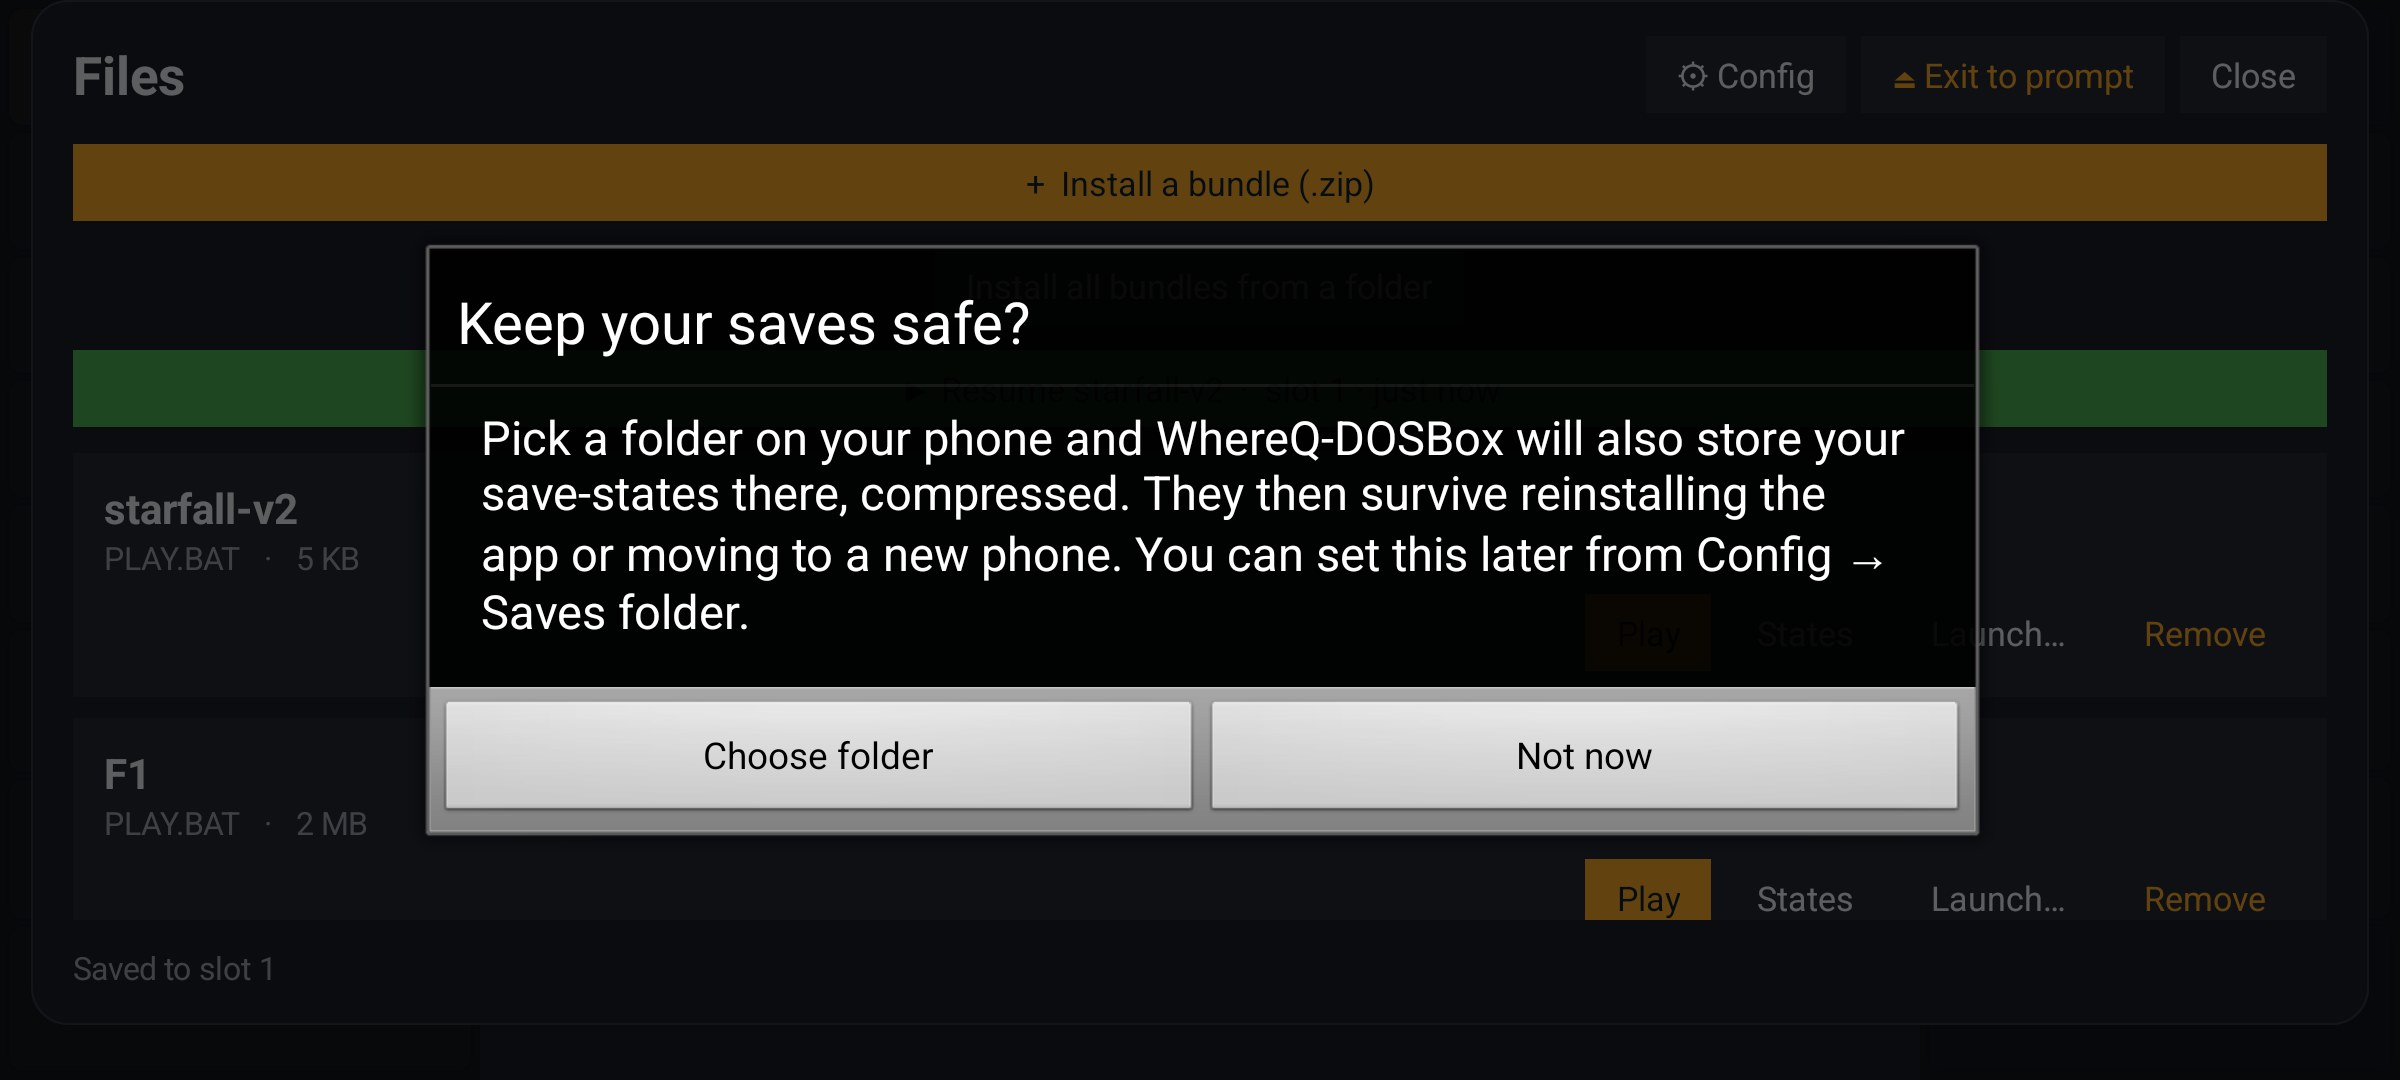
The Keep your saves safe prompt, after the first save.
The app says the same thing in its own dialog, which you can open at any time:
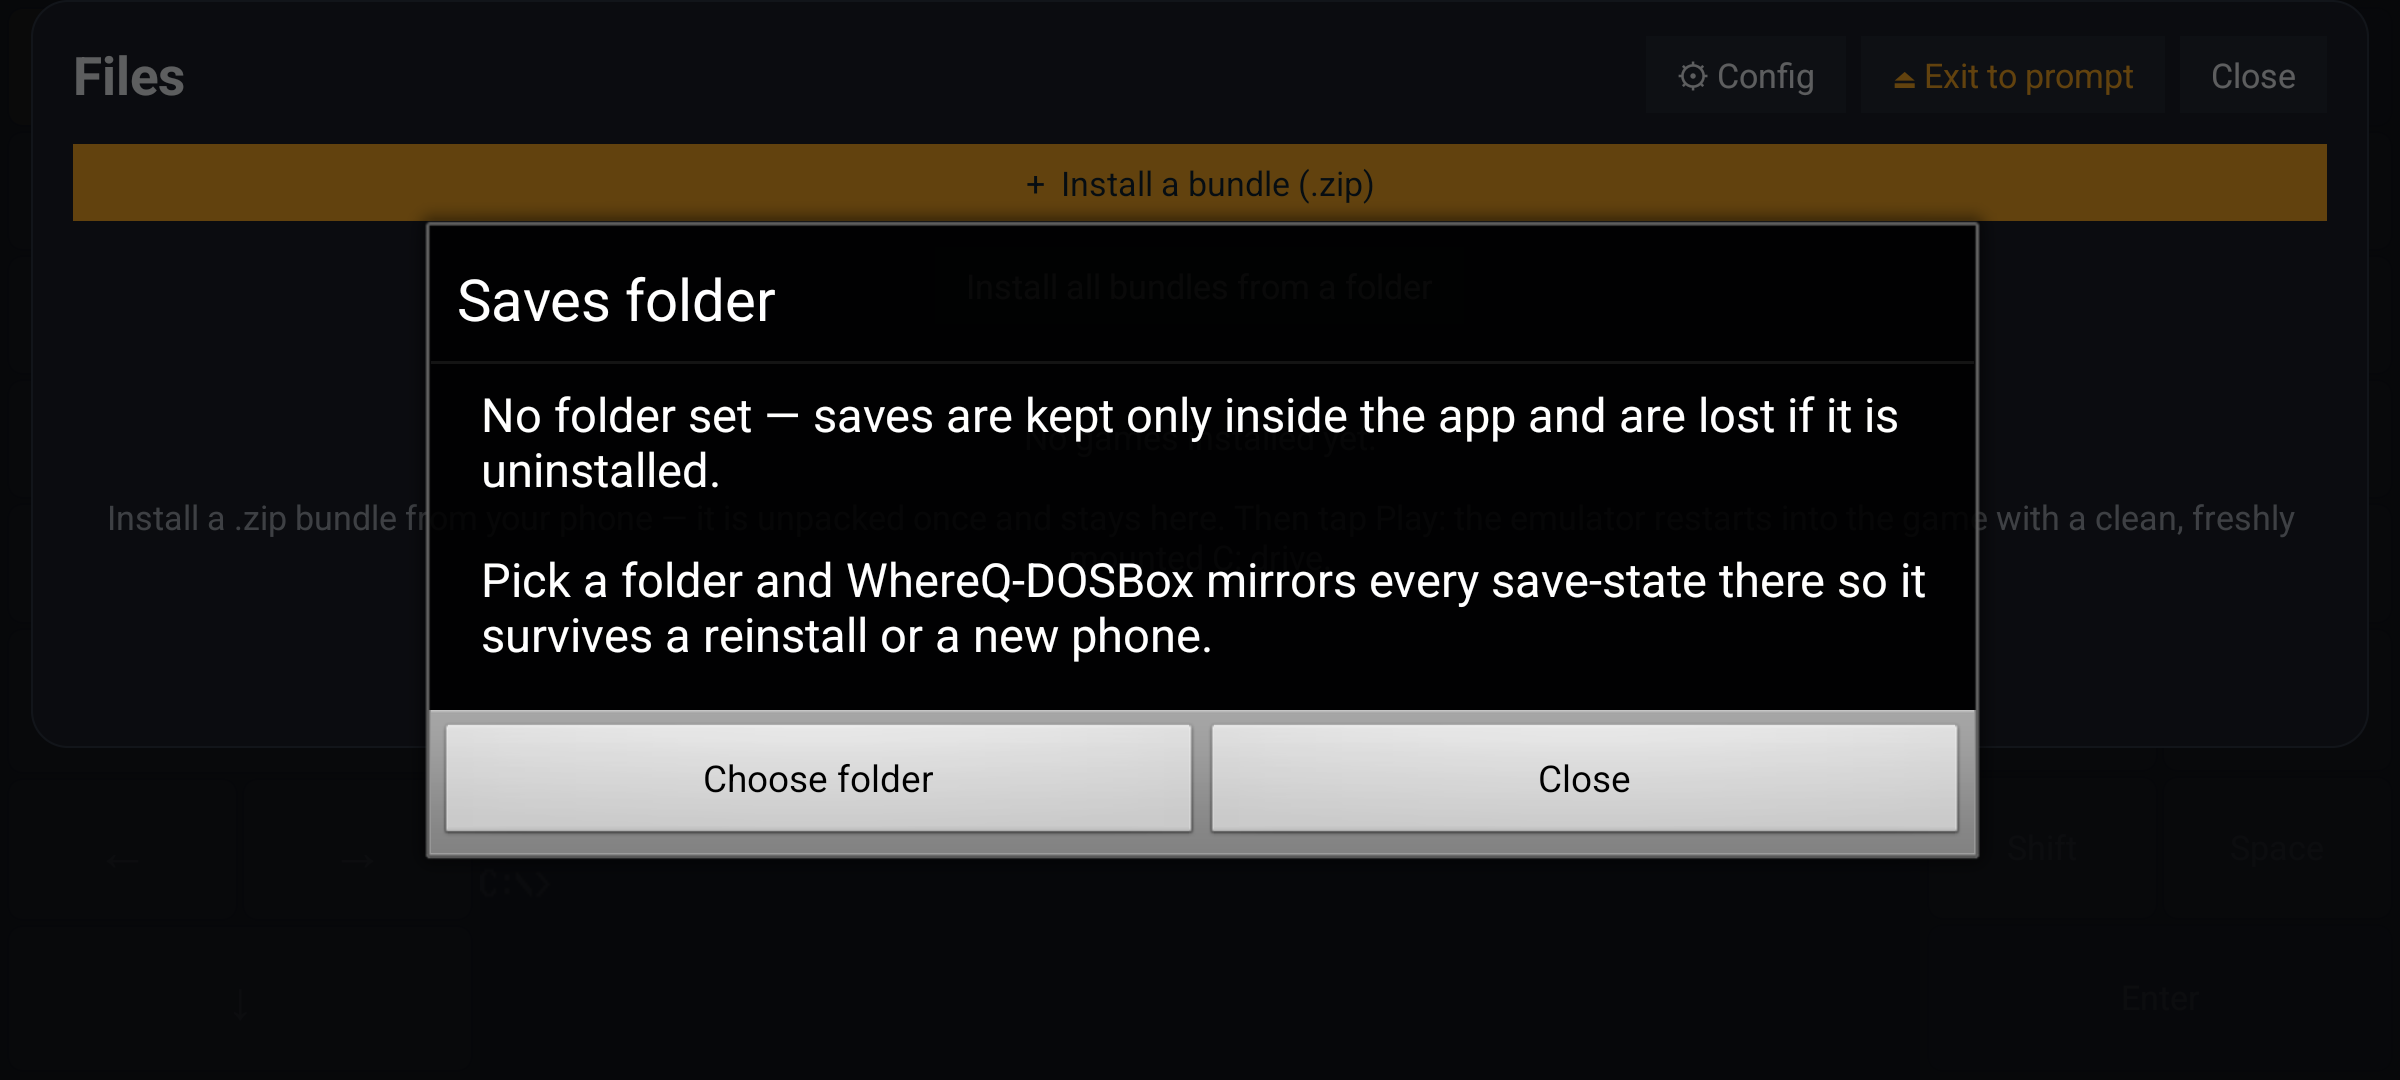
The Saves folder dialog, with no folder set yet.
Press Choose folder, and the system asks you to allow the app into a folder on your phone:
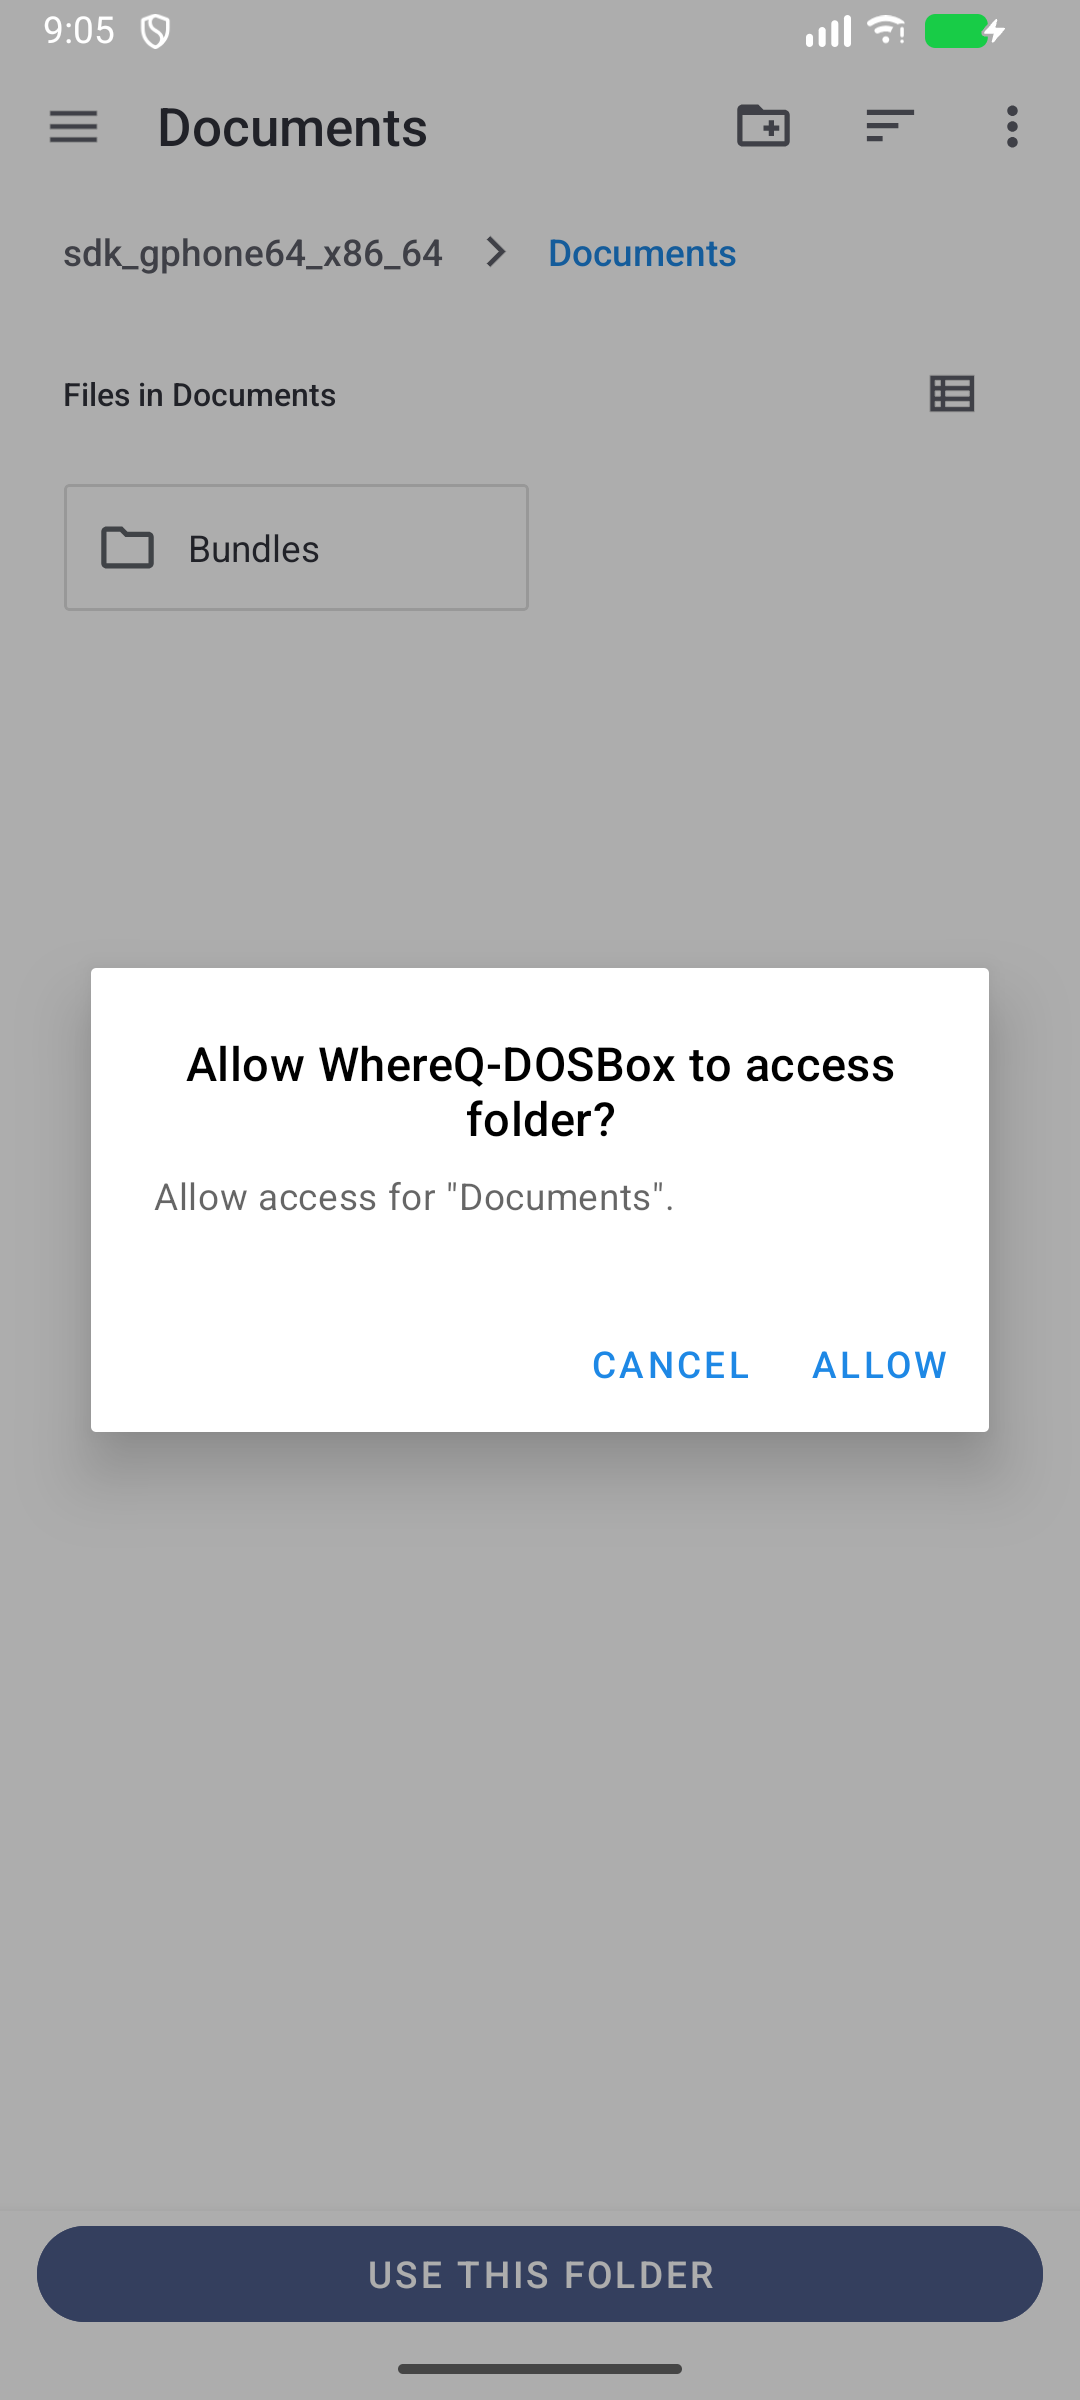
The system permission dialog for the folder.
Pick a folder, press USE THIS FOLDER, and press ALLOW. From then on every slot is mirrored into that folder, compressed, next to the game itself.
You can see, and change, the folder at any time under Config → Saves folder:
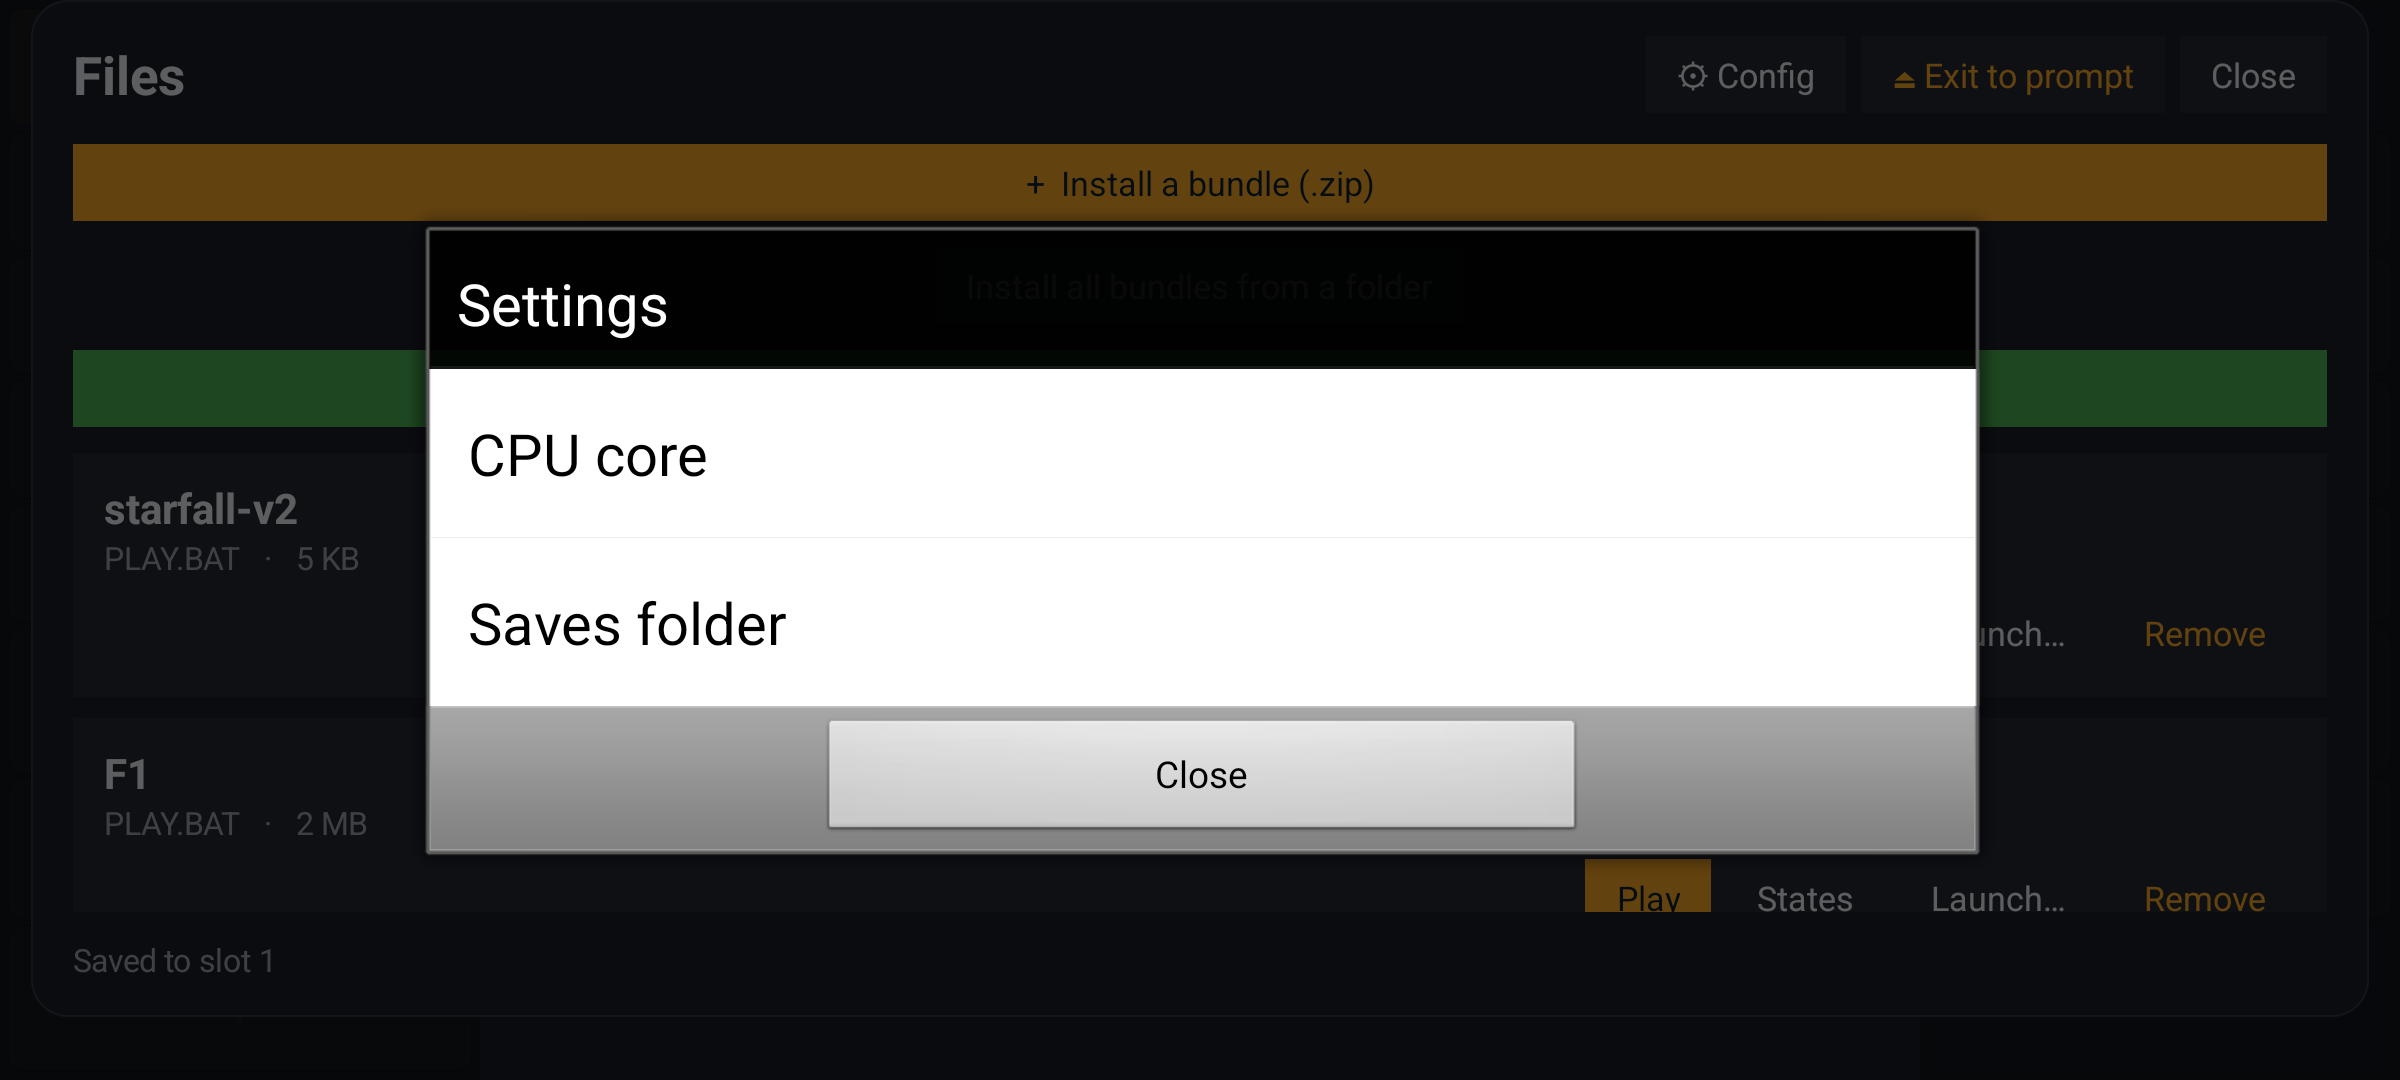
The Settings dialog.
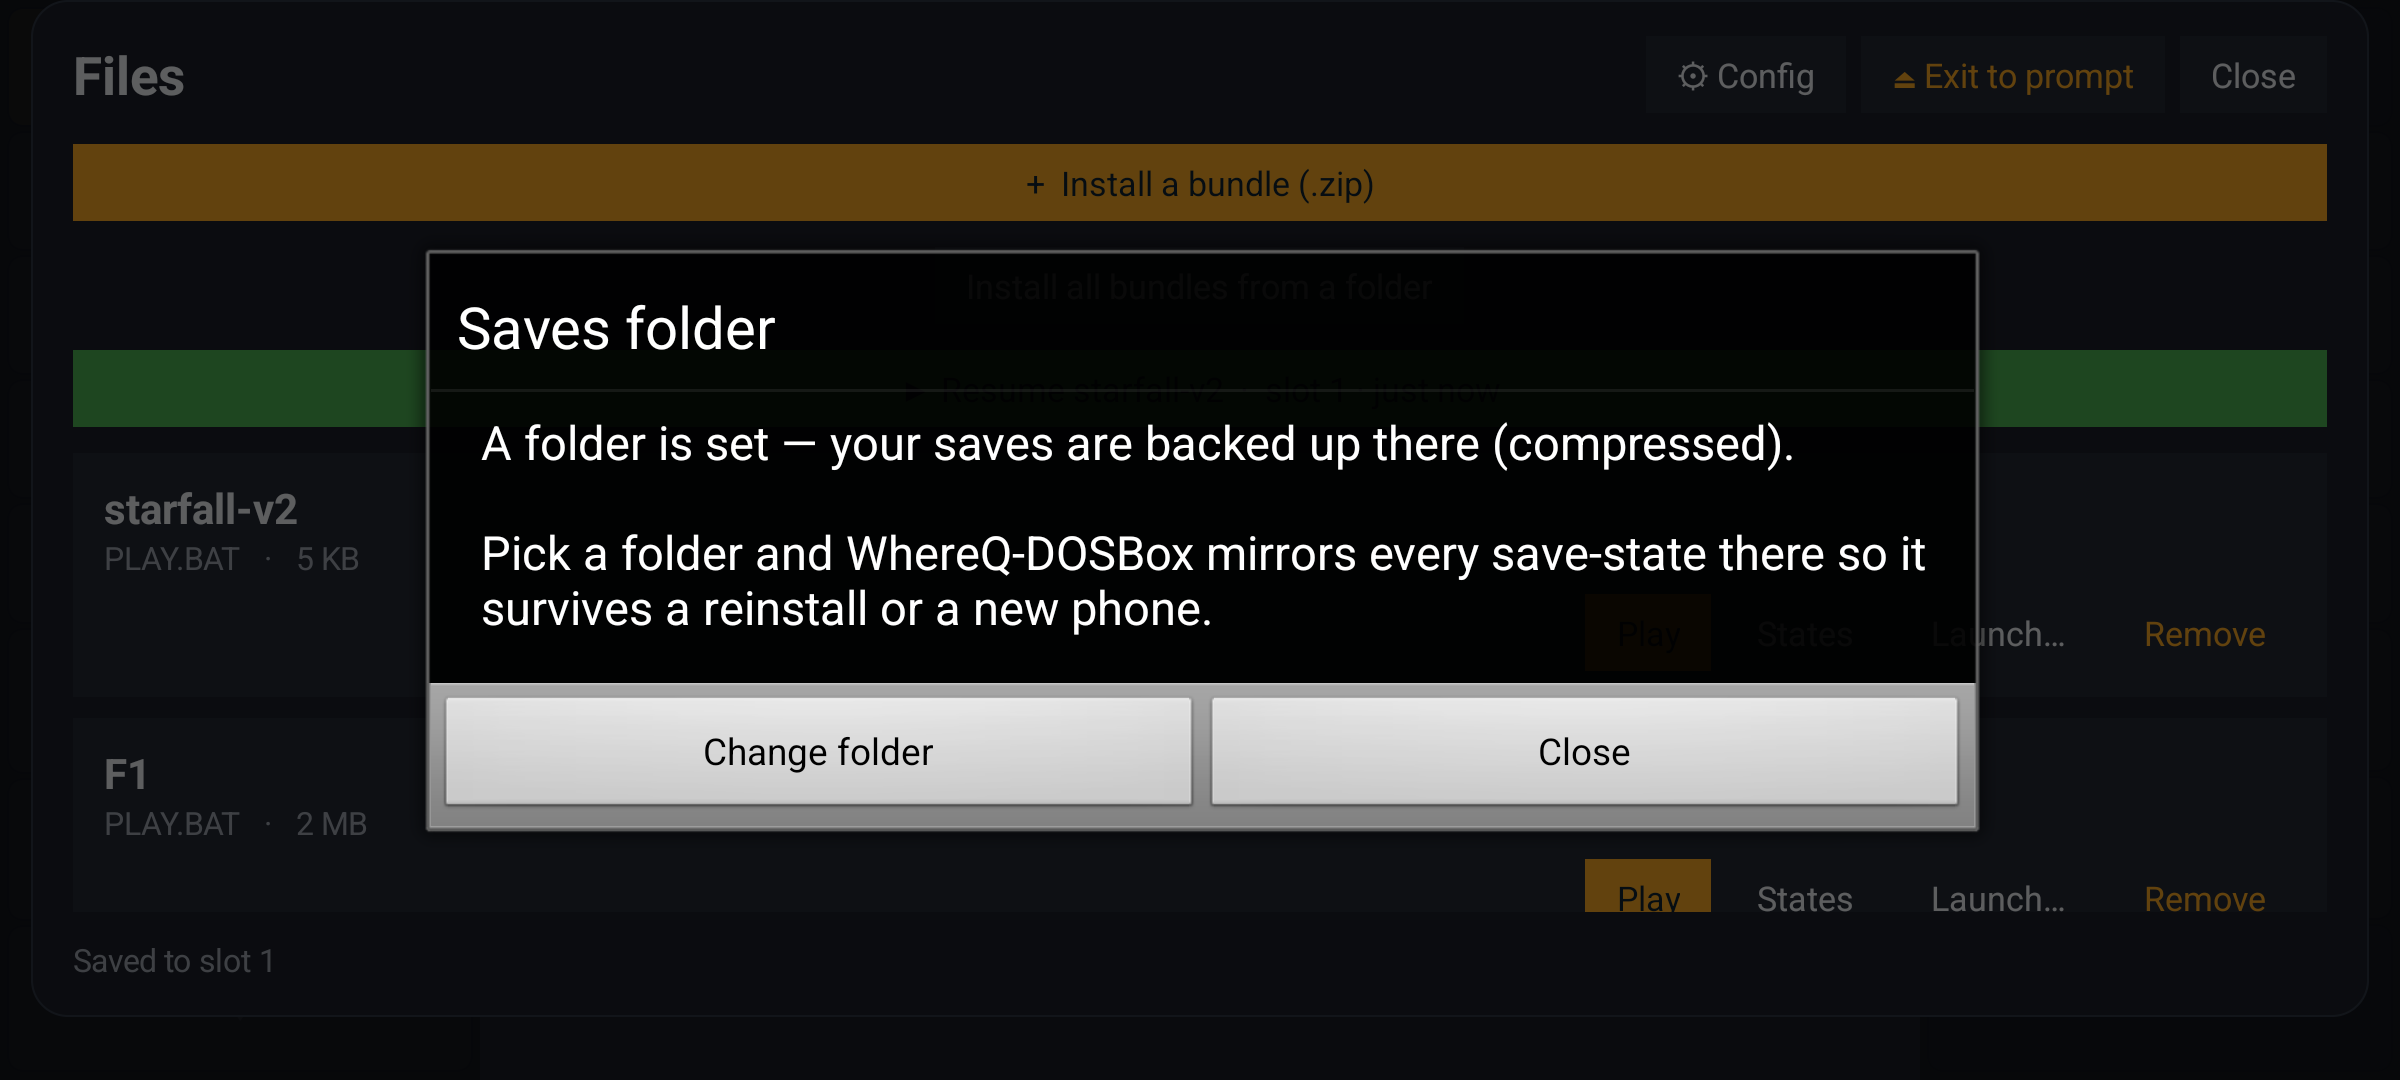
The Saves folder dialog, with a folder set.
Two notes:
- Android refuses to let an app take the Download folder itself, because that would be too broad a permission. Pick any other folder — Documents is fine.
- You only have to answer this once. The app does not ask again.
Step 7 — After a reinstall, or on a new phone
This is what the folder is for.
Uninstall the app, install it again, and choose the same folder. The app looks inside it and finds your games — they are still there, because they were never inside the app:
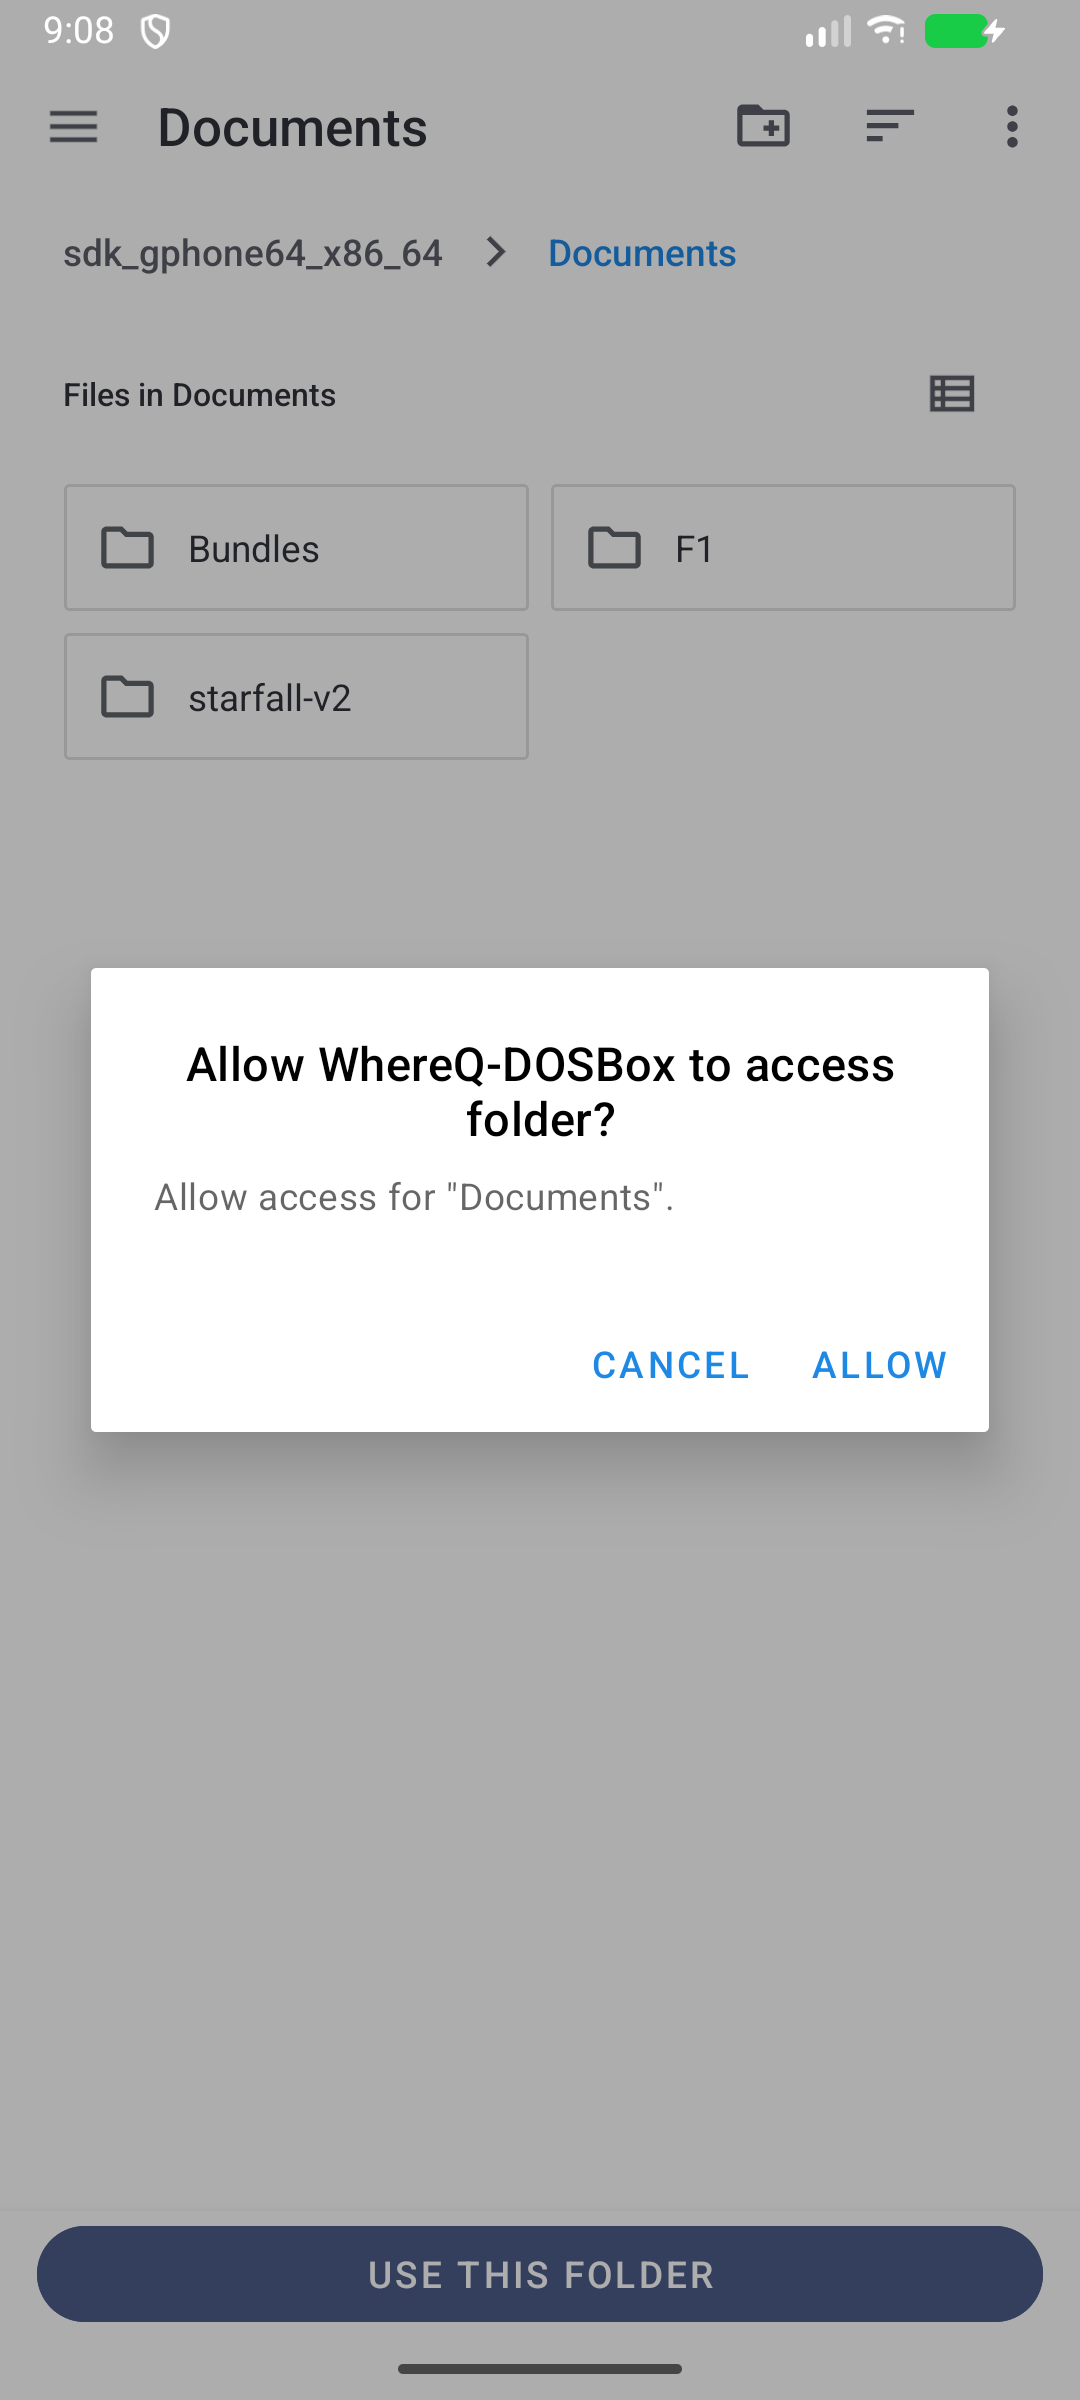
The folder on the phone after the app was uninstalled.
The app notices the games that are not installed and offers to bring them back:
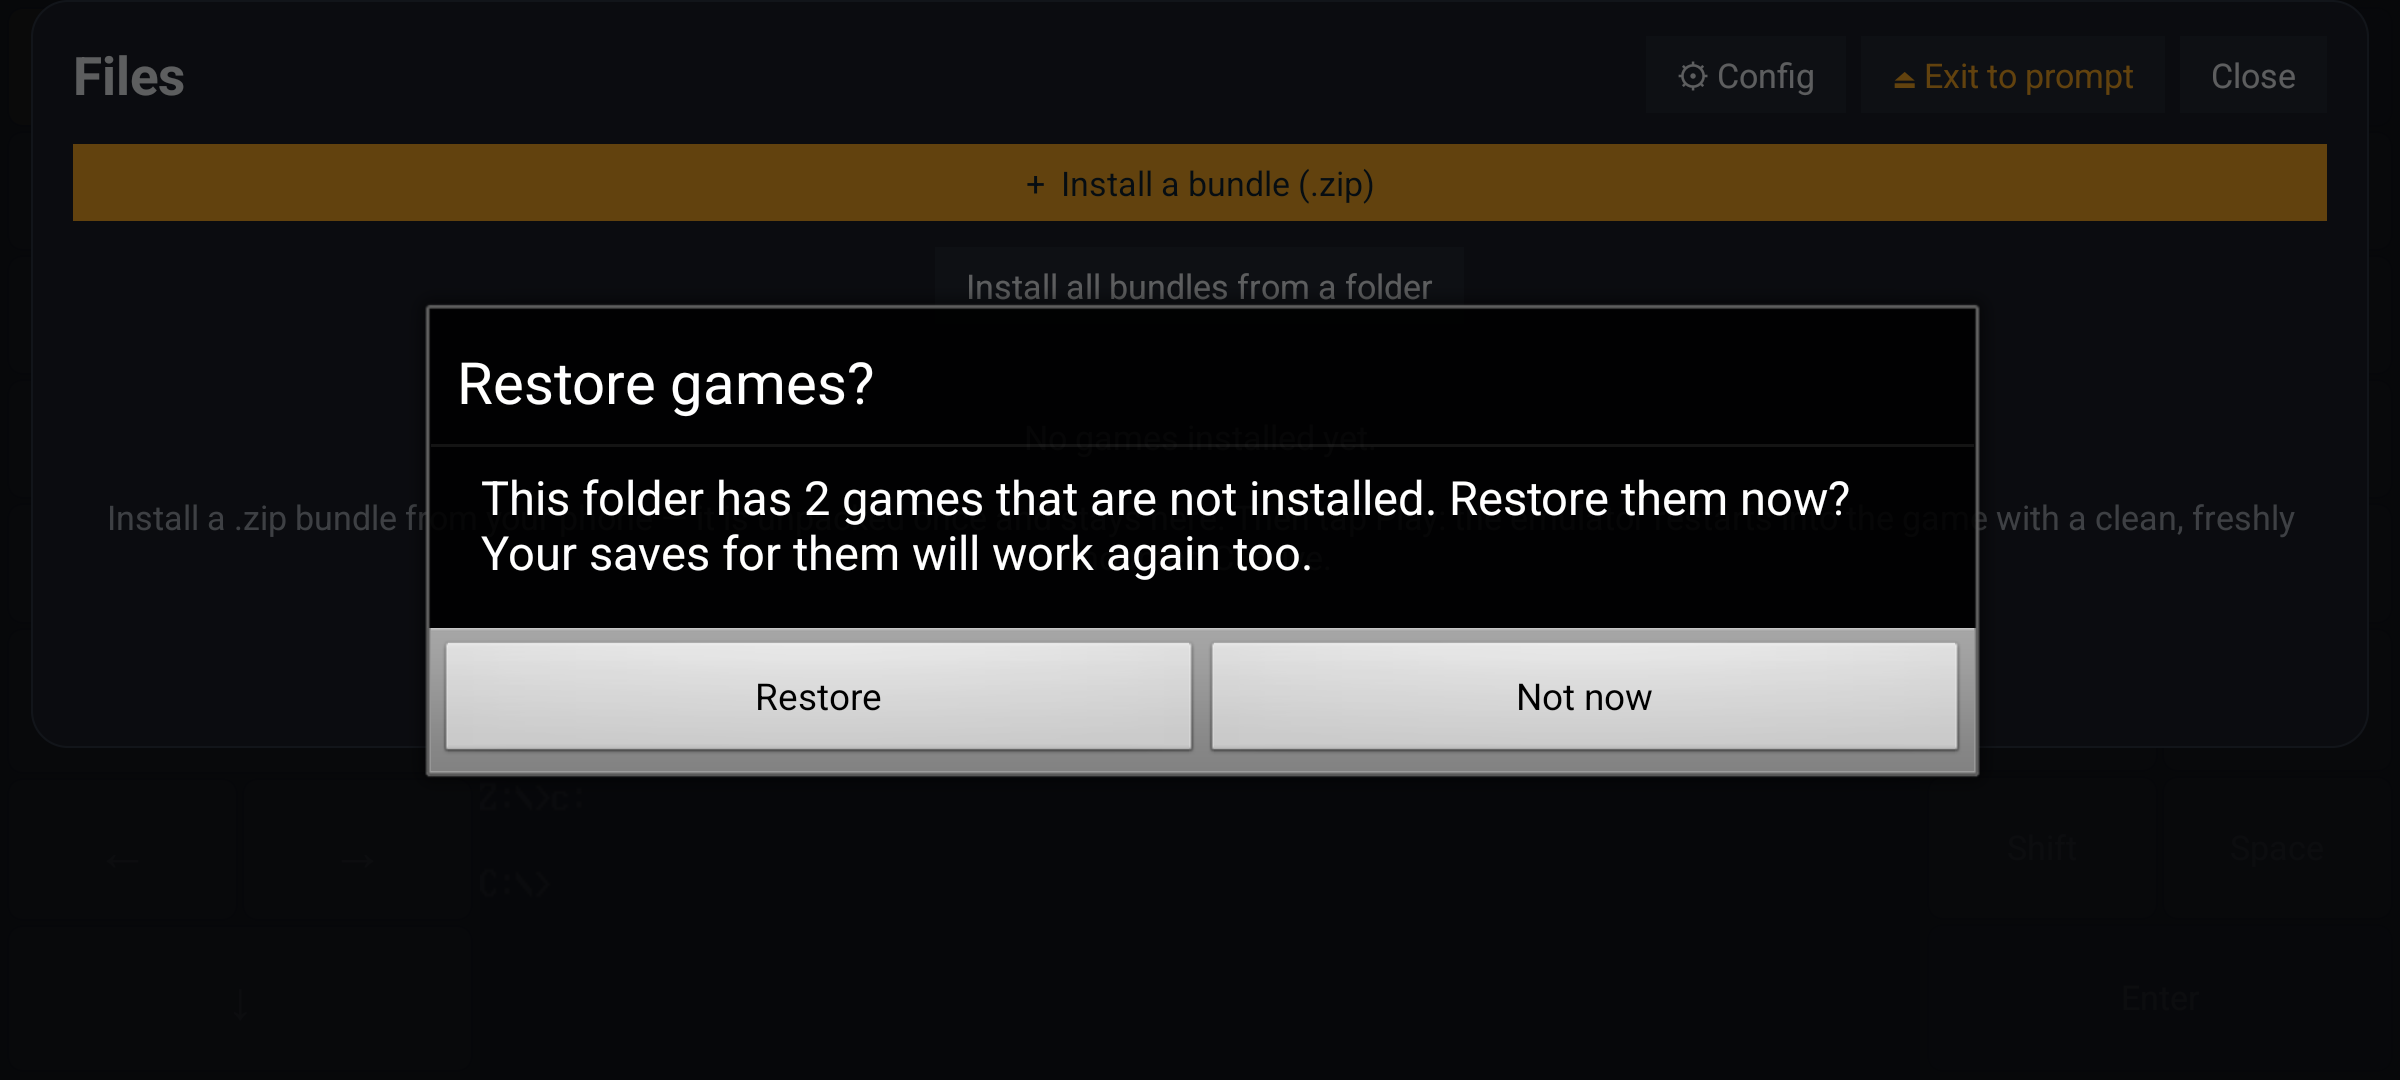
The Restore games prompt.
Press Restore, and they come back with their names and their saves:
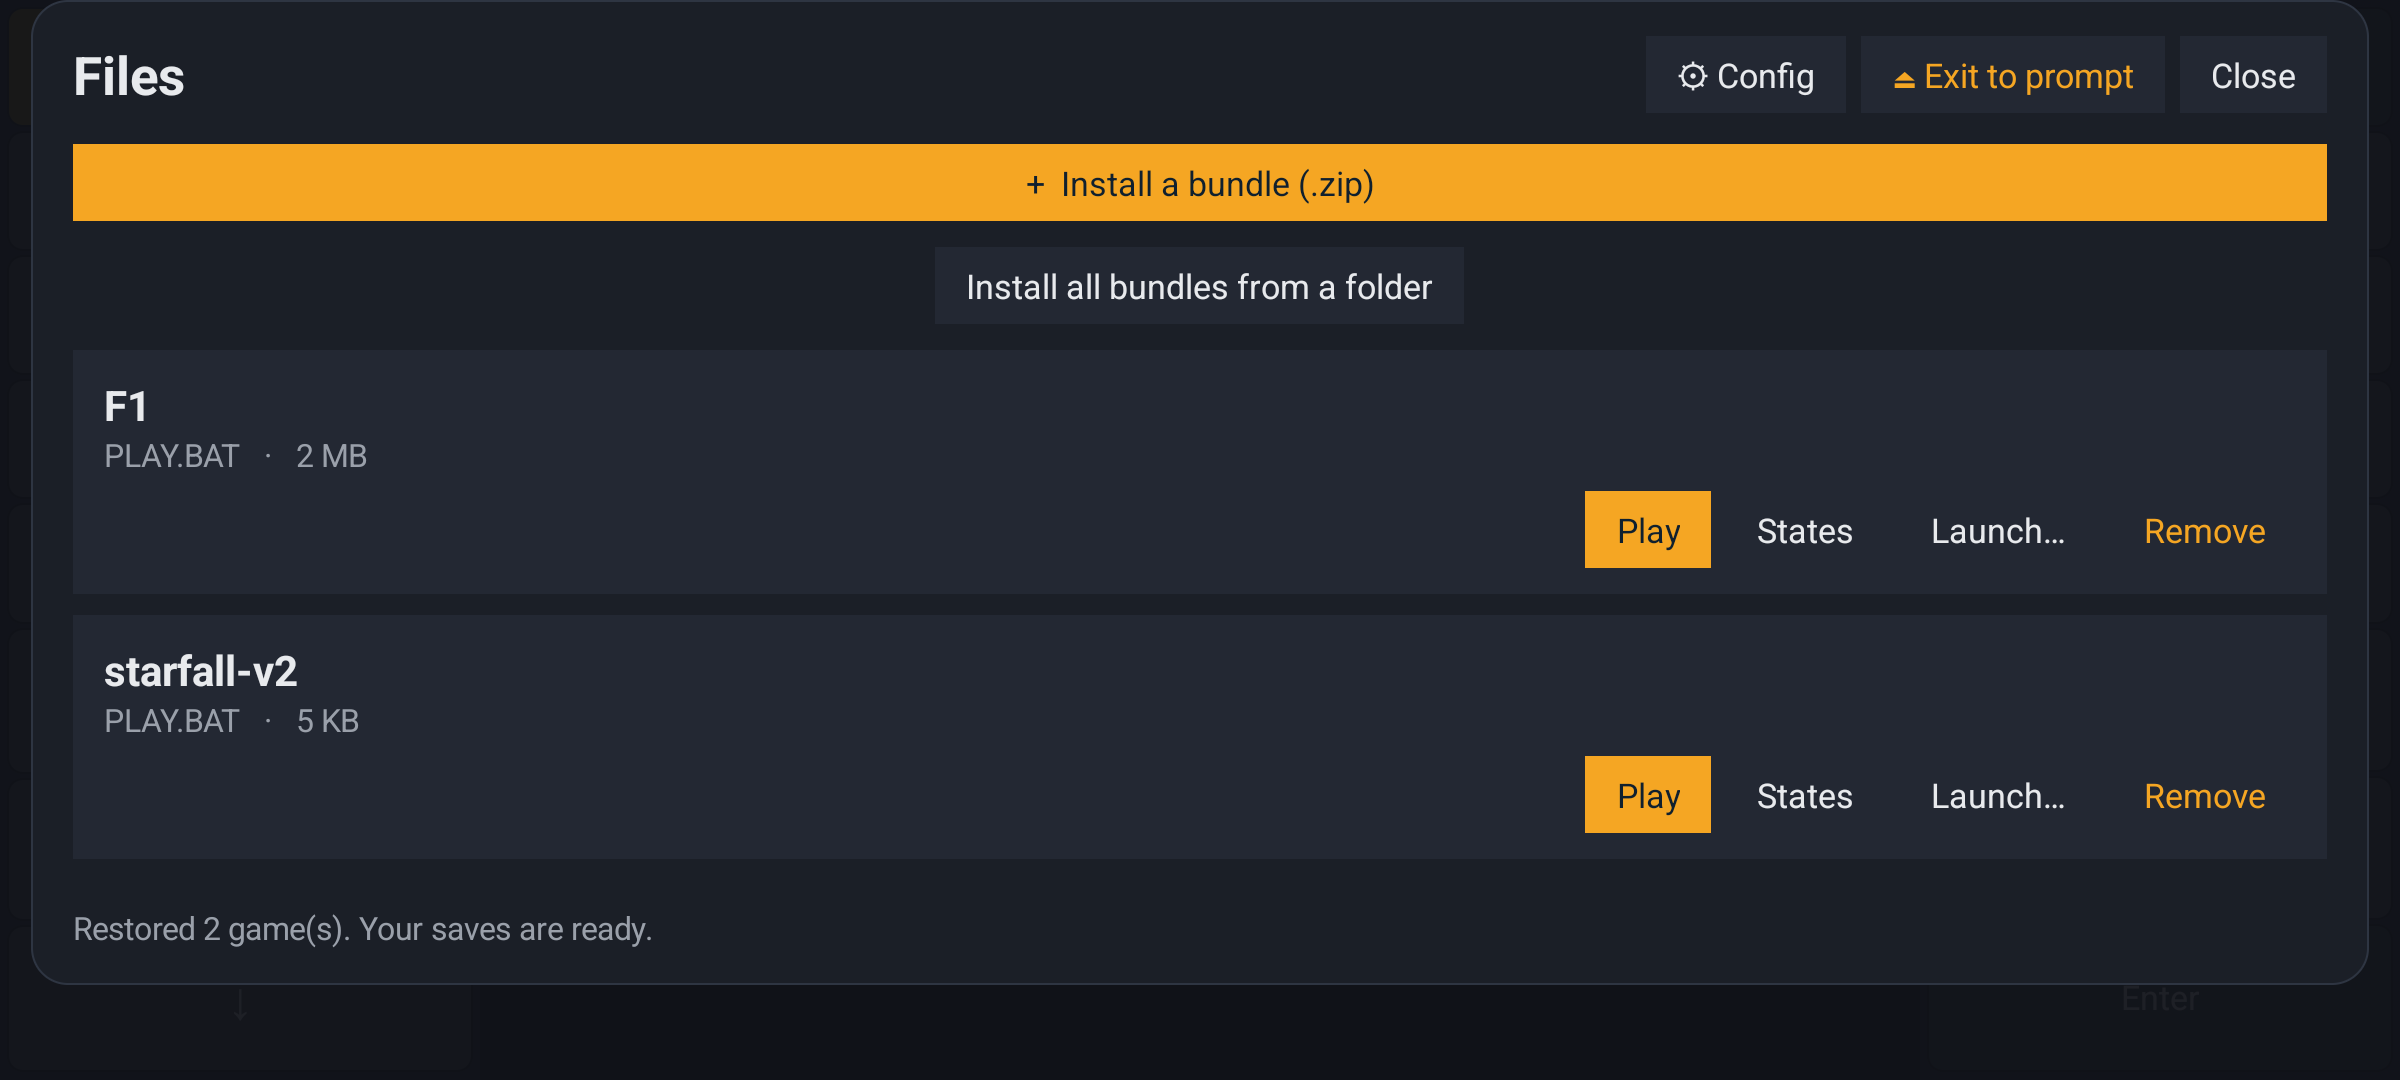
Restored two games, with their saves ready.
And the save state still knows when it was made:
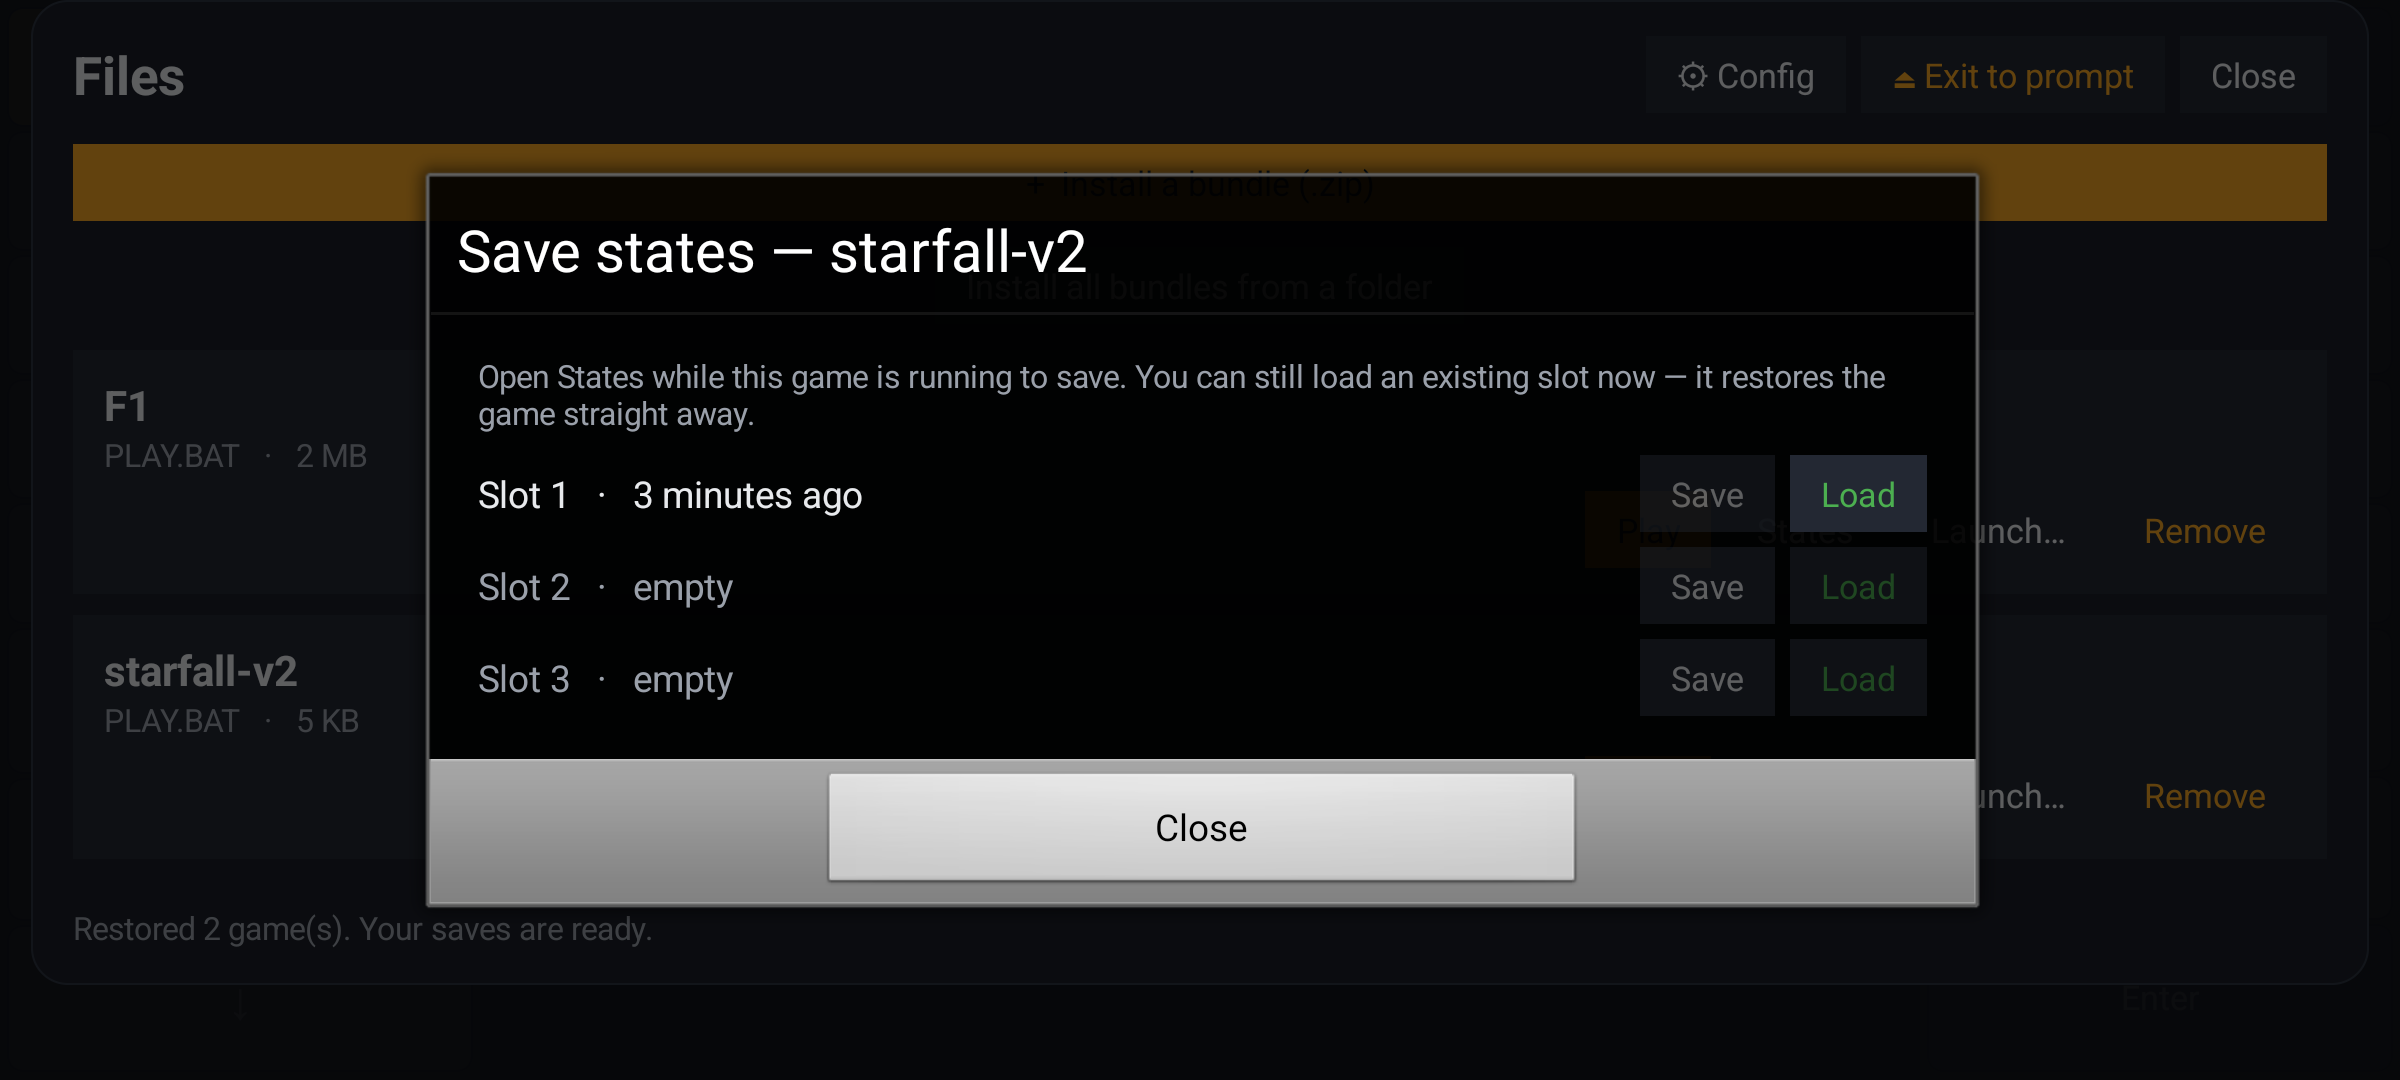
The restored slot, still saying three minutes ago.
That last line is the point of the whole feature. A save that was made three minutes ago says three minutes ago, even after it was rebuilt from the folder on a fresh install.
Where everything lives
  inside the app                    the folder you picked
  ────────────                      ───────────────────
  the games                         <your folder>/
  the save-state slots                <game name>/
                                       slot1.gz
                                       slot2.gz
                                       bundle.zip

  gone when the app is removed     stays until you delete it
If something goes wrong
| what you see | what it means | what to do |
|---|---|---|
| "That save file is damaged" | the slot was written by an older version | the save format grew a version; older slots are refused rather than misread. Start a new slot. |
| The game does not start | the bundle has no PLAY.BAT, or the entry point is wrong | open the .zip and check that PLAY.BAT runs the game's executable |
| Nothing happens when you tap Play | the emulator is restarting to boot the game | wait a few seconds — the process restarts on purpose, and the game starts in the new process |
| The keyboard is in the way | the pads take the sides of the screen | turn the phone to portrait for a single strip along the bottom |
| The mouse does not click | the game wants the mouse held | drag for movement; the on-screen RMB key, or a second finger on the picture, is the right button |
| You cannot pick the Download folder | Android will not grant an app the whole Download folder | pick another folder, such as Documents |
| You get a notification prompt | the app wants to show the "back to the game" notification | allow it or decline it — you can decline, you just lose that notification |
| The game is slow | the emulator runs the original hardware, not a fast one | it is what the 1994 machine did. It is not the phone being slow. |
Where to go next
This post is the guide. The repository holds the same document, plus everything behind it:
👉 github.com/whereq/whereq-dosbox — the source, the example bundle, the issues, and the guide itself at docs/USER-GUIDE.md.
The technical reference is the long one — how the native build works, how the save-state machine takes a snapshot of the whole machine, the exact FM snapshot, the bundle launcher, the on-screen keyboard, the build pipeline. It is written for engineers, not for phone holders.
The releases page carries the APK and its checksum.
Thank you, DOSBox
None of this is possible without the DOSBox project.
DOSBox was written by the DOSBox Team — a volunteer crew who took an operating system from 1994 and made it runnable on every machine the world has produced since, including the ones that did not exist yet. They kept it alive for three decades and gave it away to anyone who wanted it. WhereQ-DOSBox is a thin layer on top of their work. The originality, the craft and the generosity are entirely theirs.
This port is built on Em-DOSBox, the Emscripten build of DOSBox r4305 by Boris Gjenero, which grew out of Ismail Khatib's first attempt to compile DOSBox with Emscripten, and rode on the Emscripten work of Alon Zakai. The SDL2 library by Sam Lantinga carries the window, the audio and the touch input.
DOSBox is a trademark of the DOSBox project; this port is not affiliated with or endorsed by the DOSBox team.
Every screenshot above is a real phone, running the release-signed APK. Nothing here is a mock-up.